


Getting there
Plus: a delicious Banana bread and simple Mediterranean tarts

Hello, friends - and welcome back!
I’m not one for setting New Year’s resolutions, usually, but this year, I did. 2024 would be the year that I finally learned how to cook, and also how to take food photography.
It only dawned on me last week that I have been working on this consistently for 6 months now. 6 months?! I’m not really sure where that time has gone, to be honest - perhaps I need to stop blinking.
I’m proud of what I’ve achieved so far. I’m getting there. I’ve well and truly fallen in love with food - and not just the eating part. Although I won’t deny that’s pretty top of the list. But the learning, the creativity, the mindfulness and the community of it all, too.
Isn’t food just bloody brilliant
The Shot
As I want to focus on developing my photography as much as the cooking, I am going to add a new section to the recipe photos I share called ‘The Shot’. Under each photo I’ll write about the thought process behind the shot. Being intentional with setting up scenes, using colour and thinking of composition are all really important - so I thought it would be fun to share my thoughts each time.
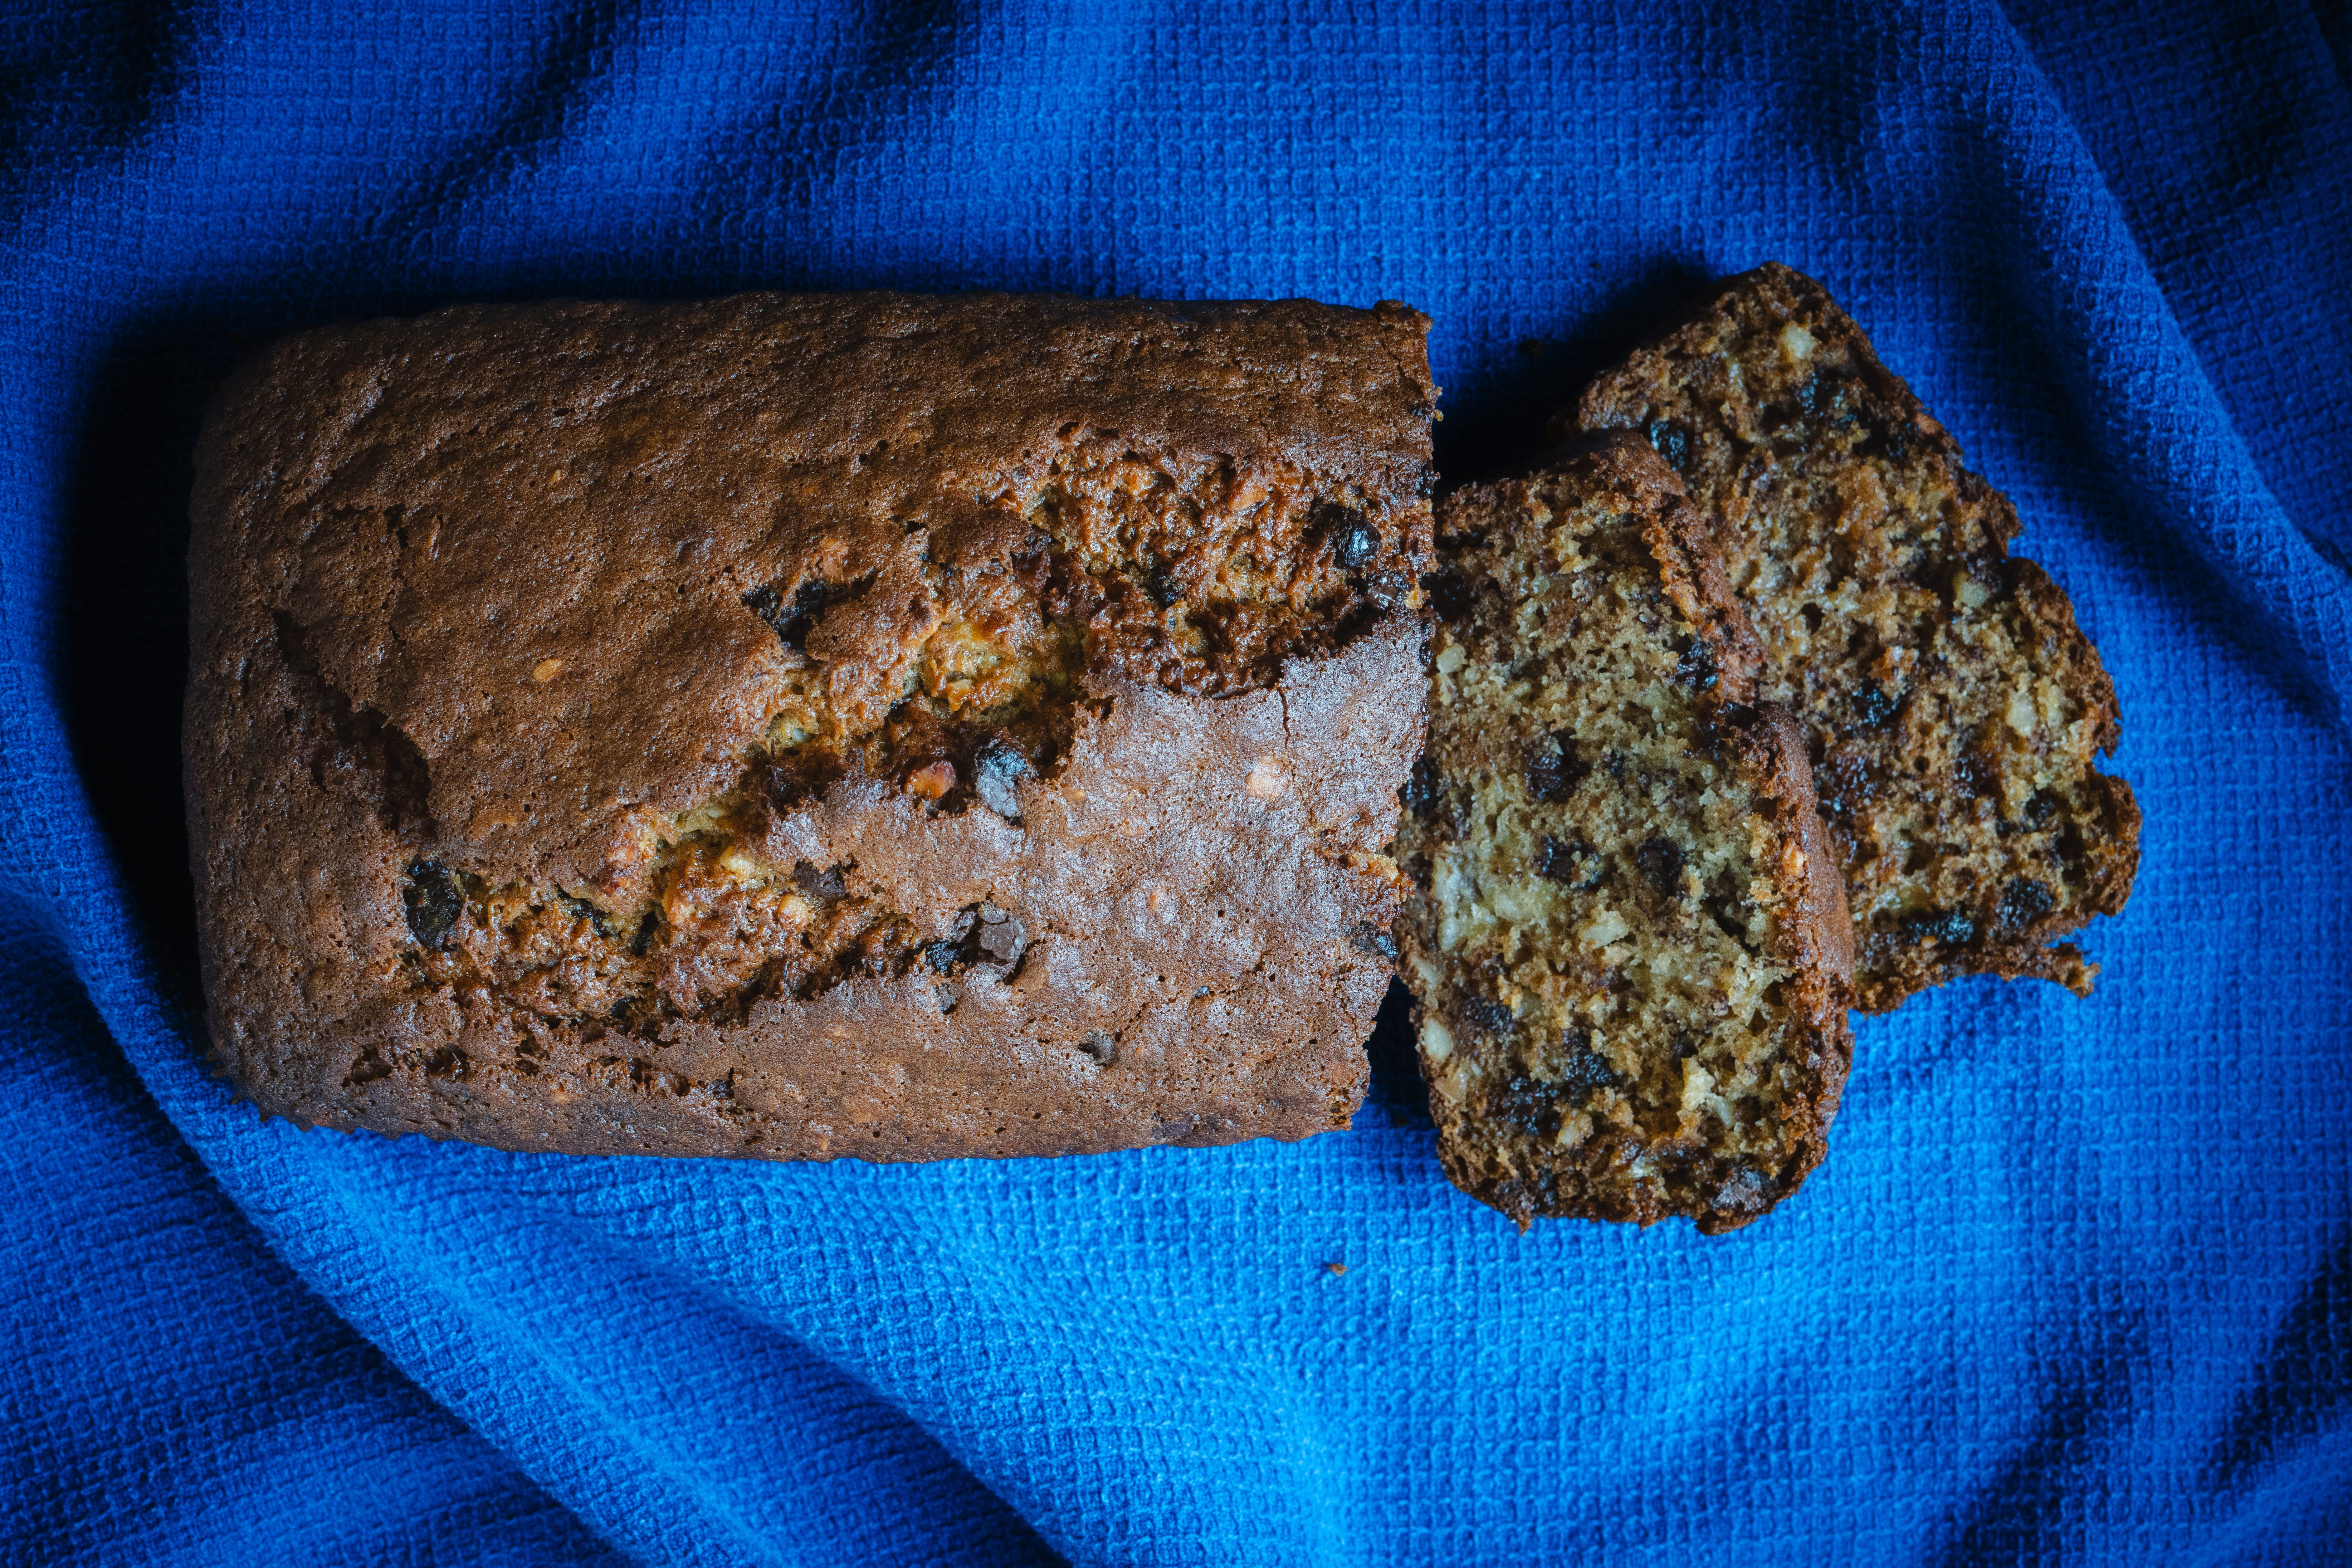
Banana bread with chopped almonds and chocolate chips
Banana bread seems to be quite the divisive bake. Some people love it, others can’t stand it I’ve found. For me, it holds a special place in my heart - as it was the first thing I ever baked.
I tailored a simple banana bread recipe (get me!) to include chopped almonds and chocolate chips. I opted for a recipe using vegetable oil as I find it helps make the bread moist, but still hold together really well.
The Shot: I love shots of freshly baked bread placed on organic fabrics. I learned from
that brown on brown can really make the subject pop, which I’m keen to try - so I have ordered various fabrics to give that a go. For now, I settled for a textured blue tea towel. Which I think works quite well!I love the contrast of this photo - I think it makes the banana bread shine as the subject matter.
🧈 Ingredients
3 ripe bananas, mashed
120 ml vegetable oil
150g granulated sugar
2 large eggs
1 teaspoon vanilla extract
190g plain flour
1 teaspoon baking soda
1/2 teaspoon salt
60g crushed almonds
90g chocolate chips
🥣 Instructions
Preheat Your Oven: Start by preheating your oven to 180°C (160°C fan). Grease your 9x5-inch bread pan or line it with parchment paper for easy removal.
Mix the Wet Ingredients: In a large mixing bowl, combine the mashed bananas, vegetable oil, and sugar. Stir in the eggs and vanilla extract until the mixture is smooth.
Combine the Dry Ingredients: In a separate bowl, whisk together the flour, baking soda, and salt.
Mix Wet and Dry Ingredients: Gradually add the dry ingredients to the wet mixture, stirring until just combined. Be careful not to overmix – you want to keep the bread tender.
Add Almonds and Chocolate Chips: Fold in the crushed almonds and chocolate chips, making sure they’re evenly distributed throughout the batter.
Pour into Pan: Pour the batter into your prepared bread pan and smooth the top with a spatula.
Bake: Bake in the oven for about 60-70 minutes, or until a skewer inserted into the centre of the bread comes out clean. I find a wooden toothpick works best!
Cool and Enjoy: Allow the bread to cool in the pan for about 10 minutes before transferring it to a wire rack to cool completely. Slice and enjoy your delightful banana bread, best served with a nice brew!
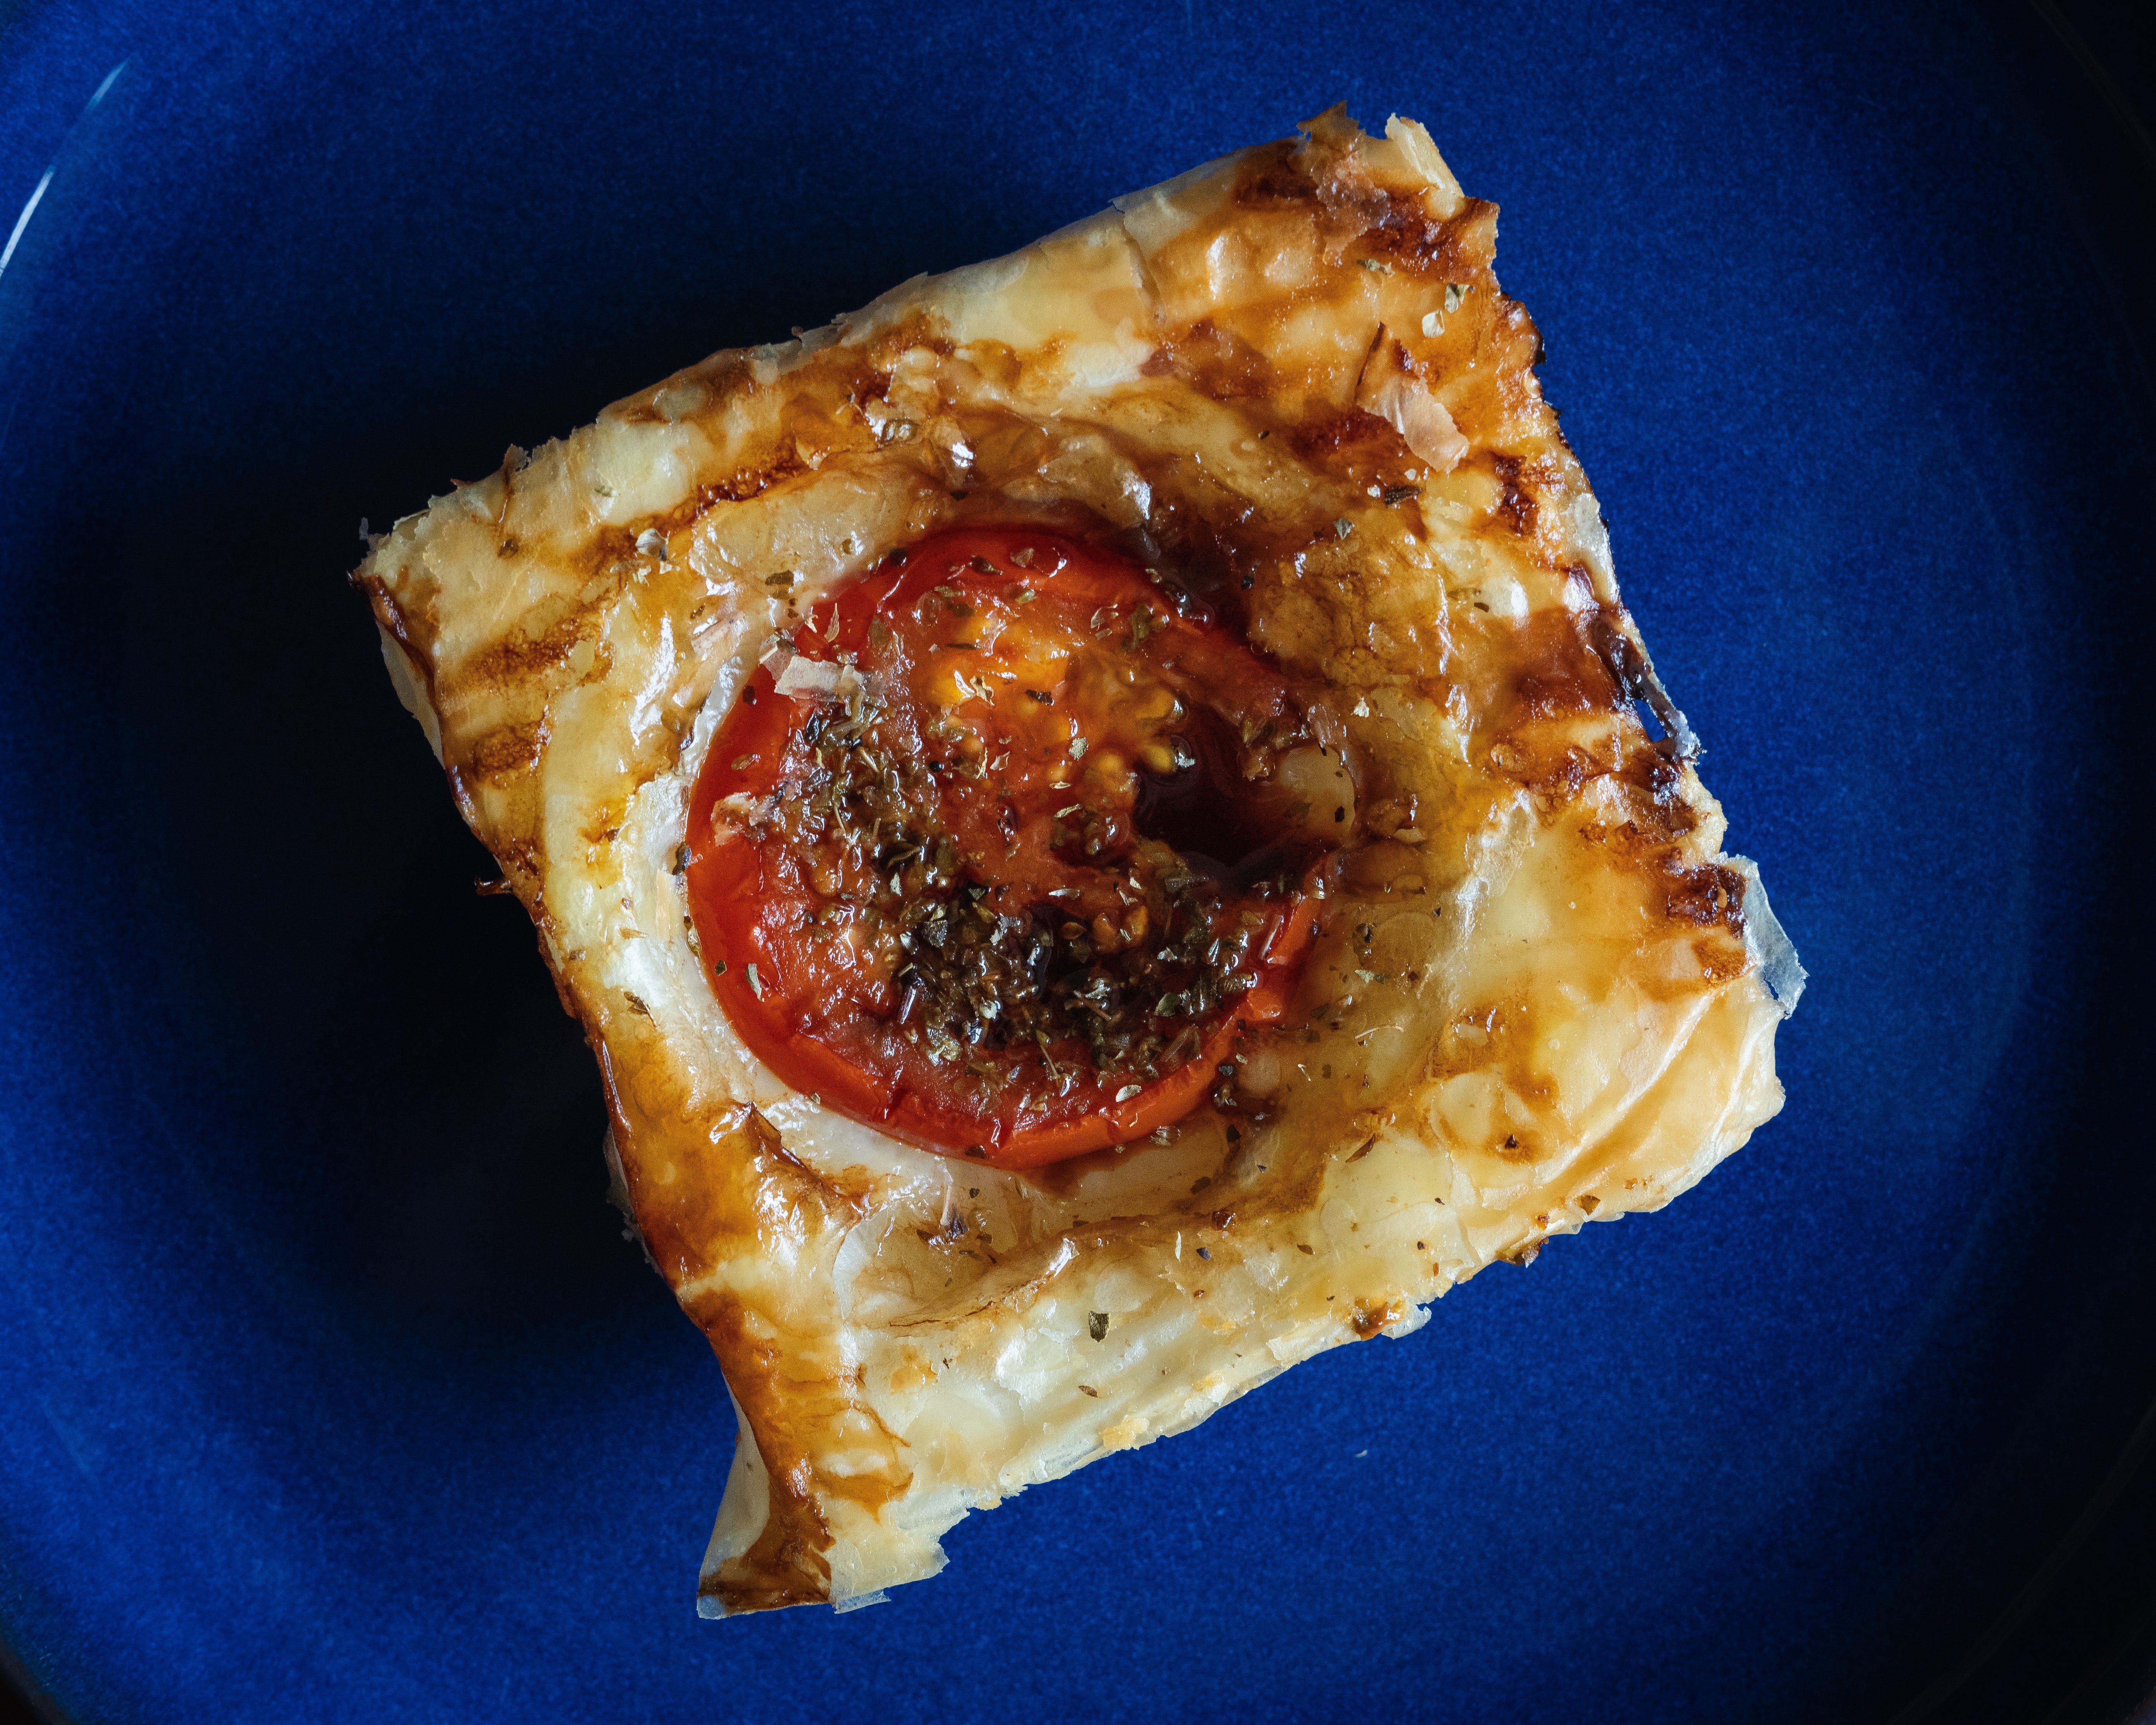
Simple upside-down Mediterranean tarts
The great thing about ‘being in to food’ now is that I’ve replaced doom scrolling on social media to finding new recipes to try, making new food/photography friends and just being completely inspired in general.
I spotted these Mediterranean tarts on instagram and had to give them a go! They’re super simple to make and take no time at all really. The recipe seems to be a great base for adding any sort of ‘toppings’ you like. I want to try prosciutto and feta next!
Tip: I used pre-made puff pastry for this recipe - if you do the same, don’t forget to take the pastry out of the fridge at least 20 mins before unrolling or it will split.
The Shot: Following a brown on blue theme this week it seems! I actually plated this tart up on the side whilst I was setting up a shot of the rest placed in uniform on the cooking rack, but thought the contrast of the light pastry on deep blue plate works well.
I consciously rotated the tart so the corners were off-set from the sides, but made sure to keep the same mirrored gap around the outside to create space.
🧈 Ingredients per tart (we’ll be making 6)
1/2 teaspoon of oregano
1 teaspoon extra virgin olive oil
1 teaspoon balsamic vinegar
1 slice of tomato
Pinch of salt & pepper
1 puff pastry square
🥣 Instructions
Preheat your oven: Preheat your oven to 220°C (200°C fan). Add baking paper to a large baking sheet pan/tray (make sure it is perfectly flat on the surface).
Prepare the Pastry: From 1 puff pastry sheet you'll be able to make ~6 tarts. Cut the puff pastry into squares.
Add the Ingredients: Add a pinch of oregano straight on the baking paper - creating a tiny well in the middle, then add the oil, balsamic vinegar, slice of tomato and the square of puff pastry. Repeat this 6 times.
Seal the Pastry: Use a fork or your finger to press the edges of the pastry down to seal them.
Bake: Whack them in the oven for 13-15 minutes.
Cool: Leave to cool on the baking tray for 5 mins or so before removing.
I drizzled a bit more balsamic vinegar on top once they were done (I think a balsamic glaze would work better), before I accidentally ate 3 one after the other.
Enjoy!
It’s my birthday next week and we’re off to Somerset for a long weekend - so I won’t be posting on Sunday. I will be back as normal the week after and I look forward to sharing what cake I decided to make myself!
I will still be posting on Notes, if you use the Substack app, and Instagram
Until then, friends - thank you for reading. As always, it’s very much appreciated.
-Mark
Happy anniversary, Mark. And great to know you're pushing into your photography further (including self-interrogation!). Have a great birthday weekend and, I'm sure, many enjoyable new recipes between now and your next post.
Congratulations on 6 months of Substacking and happy birthday for next week! Love the new photography section, such a brilliant idea!