


Cream-Jammer or Jam-Creamer?
Finding confidence and creativity in the kitchen, a quick poll and scones

Hey, Dawn: My trusty AI kitchen helper advised me on a preparation method this week. Look out for my ‘Hey Dawn’ marker to find out how.
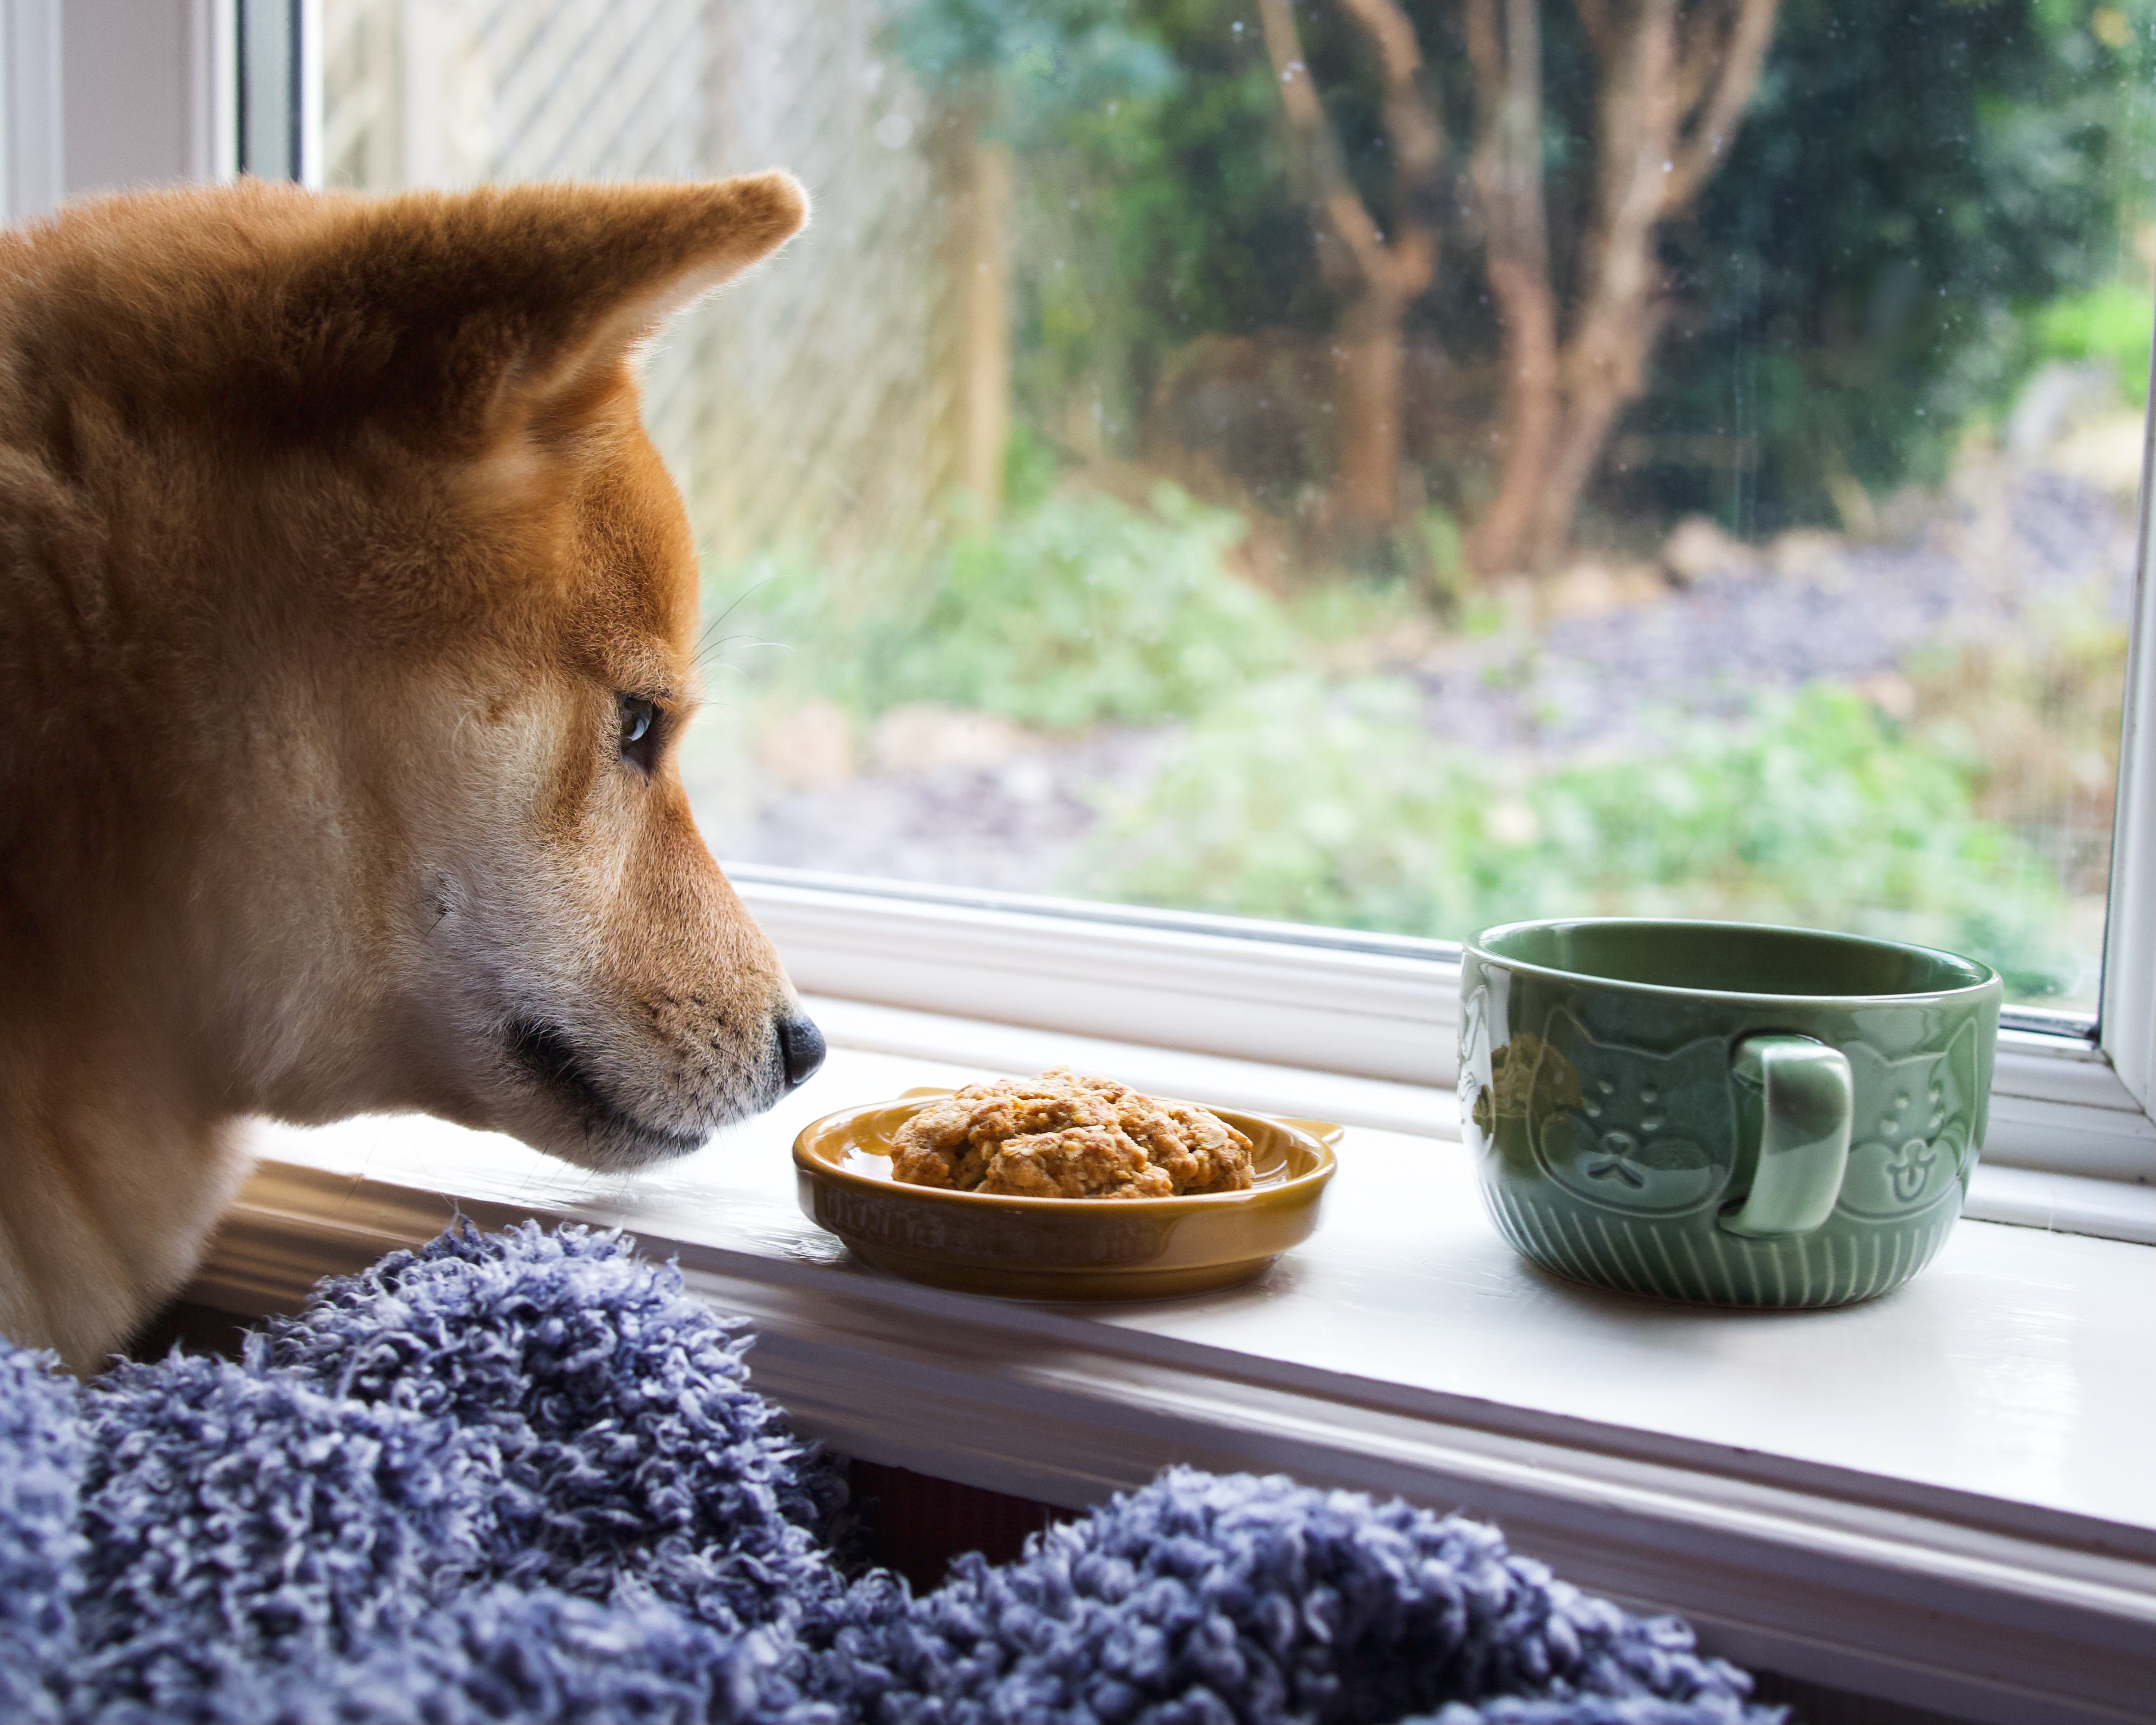
If you’re new here, hello and welcome! I’m Mark - and I have absolutely no idea what I’m doing in the kitchen. I’m documenting my journey to become a better cook and food photographer. To learn a little bit more about me (and my dog Hiro who’ll you see a lot of!), the below post is the best place to start:

Hello friends and welcome to this week’s post. It’s been an exciting week in the kitchen, especially so for Ben, as I’ve made my first ‘from scratch’ meal! Or at least something that wasn’t placed on a baking tray and thrown in the oven, or nuked in the microwave. Is anyone else still pronouncing it ‘mee-cro-wah-vey? Just me?
What you’ll find in today’s post:
Finding confidence and creativity in the kitchen: How starting this Substack has unlocked so much more than just the goal of learning how to cook
A quick Poll: When do you read?
Recipes made this week:
Breakfast: Dutch baby
Snack: Peanut Butter Oaty Biscuit Slice Thingies (technical name)
Lunch/Dinner: Creamy Sun-Dried Tomato Chicken with Rice and Grilled Asparagus
Snack: Scones! Need I say more?
“I can do anything. I can be anything. No one ever told me I couldn't. No one ever expressed this idea that I was limited to any one thing, and so I think in terms of what's possible, not impossible.” - Whoopi Goldberg
Finding Confidence and Creativity in the Kitchen
Those words resonated with me so strongly that I replayed them a good six or seven times just to make sure I truly absorbed them. Words, but yet, something so much more.
I decided that this year was the year I was going to learn how to cook. Little did I know that starting this adventure would awaken a passion not only for food, but also for writing and bettering my photography skills.
I’m not the best with words, far from it, but since starting this Substack a few weeks ago, I’ve become much more comfortable with my written voice. The lack of self-confidence and doubt when starting something new are feelings I’m sure most of us experience at some point in our lives. It can be pretty crippling, too.
Join Substack, where amazing writers are, who know exactly what they want to say and exactly how to say it? Without sounding like a total numpty? Ha, sure - okay then.
This is what my inner voice was telling me. Preventing me from taking those first few tentative steps into what is truly becoming one of the most exciting times of my life. It wasn’t until I joined a Gathering
was hosting where in the comments I was explaining what my Substack was going to be about. “I have no bloody idea what I’m doing in the kitchen and I’m much better with pictures than with words”.What? As soon as I typed it, I felt a strange ‘easing’ feeling…
That night I wrote my first post. I was truthful in that I didn’t have a clue what I was doing, either in the kitchen or in writing. Embarking on a journey together where I’ll learn how to cook and my writing will improve, post by post. An honest starting point where I could be myself without any self-imposed expectations.
Since that initial post, I’m embracing the joy of learning to cook, experimenting in the kitchen, and trying new things. The camera is now a constant companion (along with Hiro, of course), and styling shots is allowing my creativity to flourish! I’m excited to write each next post, retelling the recipes I’ve tried that week like I’m scribbling to an old friend.
So, let’s think in terms of what's possible, not impossible.
Quick Poll: When do you read posts?
I’m interested in finding out when you read your posts, so I thought a quick poll might be fun to try! For me, most of the time I like to read them as soon as they are posted; I’m lucky to work for myself and I see them as a welcome reminder to make a brew and take a break.
Do you read posts as soon as they come in, too - or do you save them for a specific time of the day/week? A few people I’ve spoken to like to save new posts they’re subscribed to for a Sunday morning. Let me know in the poll below:
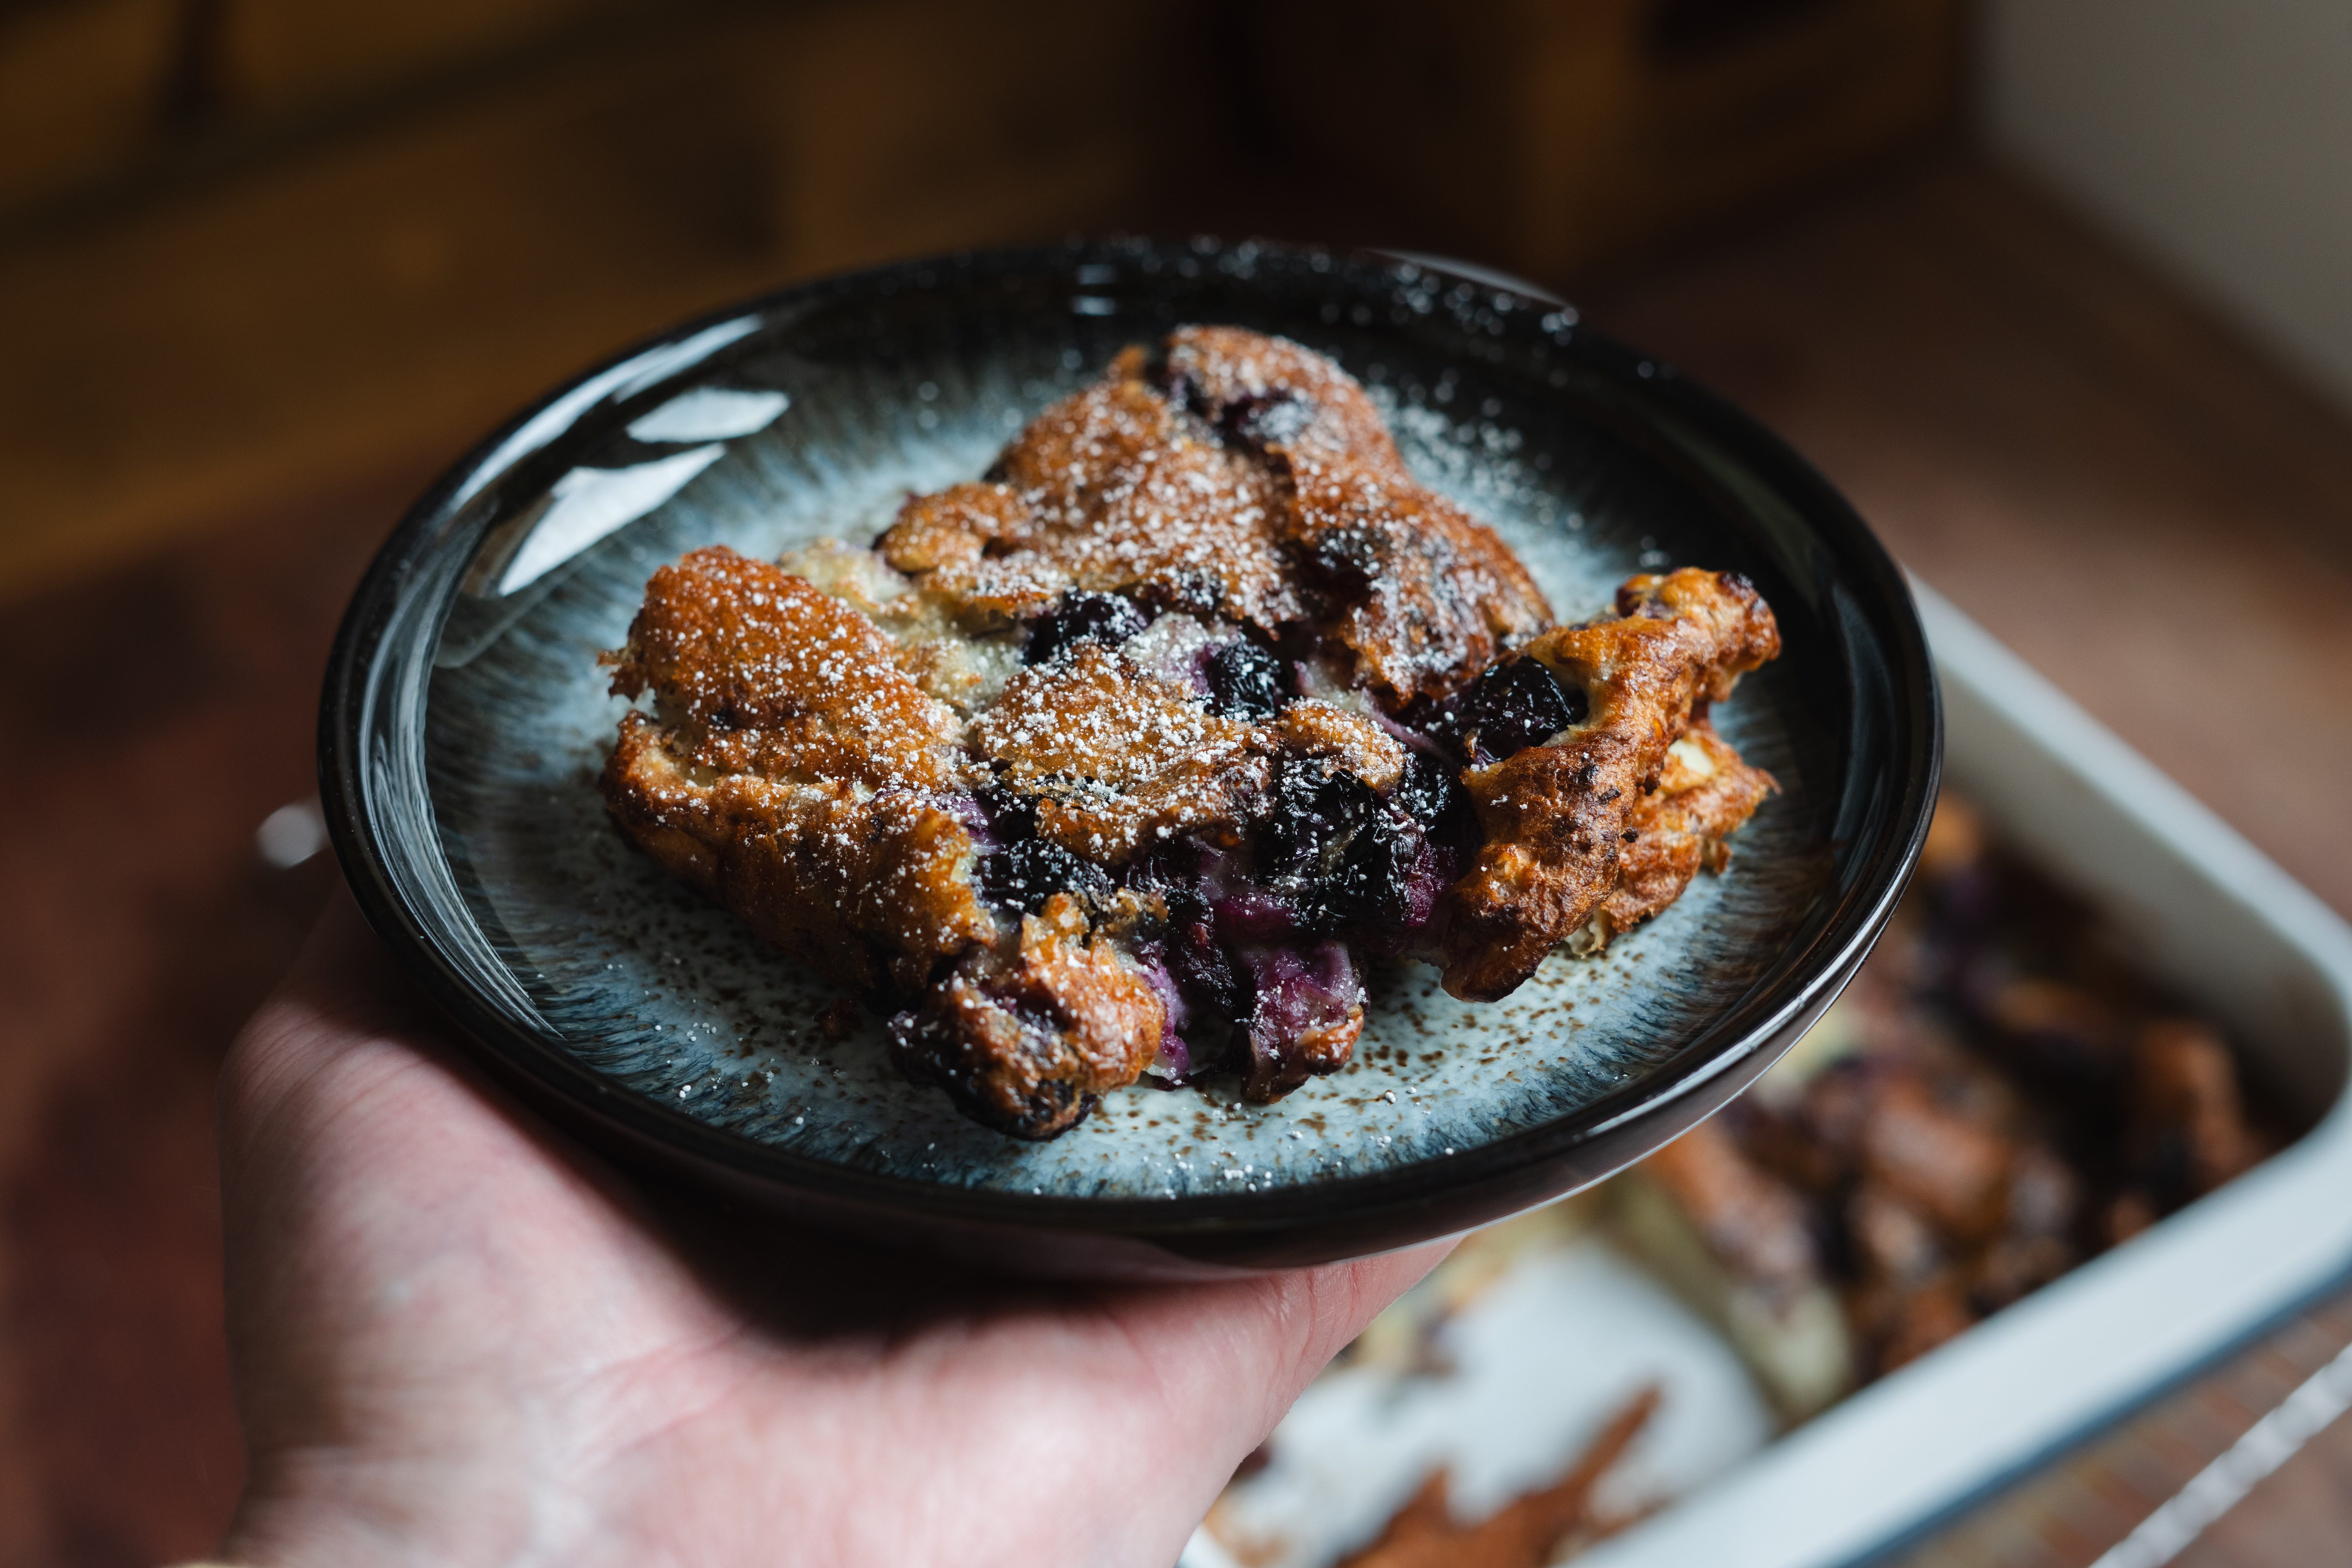
Recipe - Breakfast: Dutch Baby
A Dutch Baby, a German pancake, a Bismarck, a Dutch puff, Hooligan, or a Hootenanny. Whatever you choose to call this fluffy, almost Yorkshire pudding-like dish, we can all agree that this is the pancake of gods! Unlike most pancakes, though, this one is baked in the oven.
I’ve seen this recipe a few times now whilst doom scrolling on Instagram at night and couldn’t wait any longer to try it. Honestly, watching it rise in the oven had me amazed - it fluffed up huge! Once I took it out of the oven, it swiftly deflated, though. I’m not sure if that’s supposed to happen or if it was because 1) I whisked the batter instead of blending it, or 2) I removed it from the oven a few minutes too soon.
Either way, it still tasted bloody good and I will definitely be making this at least once a week for breakfast.
Prep time: 5 mins (30 if you keep your eggs in the fridge)
🧈 Ingredients
7 eggs
350 ml milk (nut milk works too)
125g plain flour
3 tablespoons sugar
1 teaspoon vanilla extract
1/2 teaspoon salt
1/4 teaspoon cinnamon
60g butter
150g blueberries
🥣 Instructions
Preheat your oven to 200°C Fan.
Melt the butter in a 33 x 23 cm glass dish in the oven. Once melted, while the pan is still in the oven, add the blueberries until the butter starts sizzling again.
While your blueberries are softening and butter is melting, mix the eggs, milk, flour, sugar, vanilla, salt, and cinnamon into a creamy batter.
Pour the batter straight over the blueberries in the hot pan.
Bake in the oven for 20 minutes or until puffed and golden brown.
Serve topped with icing sugar and enjoy!
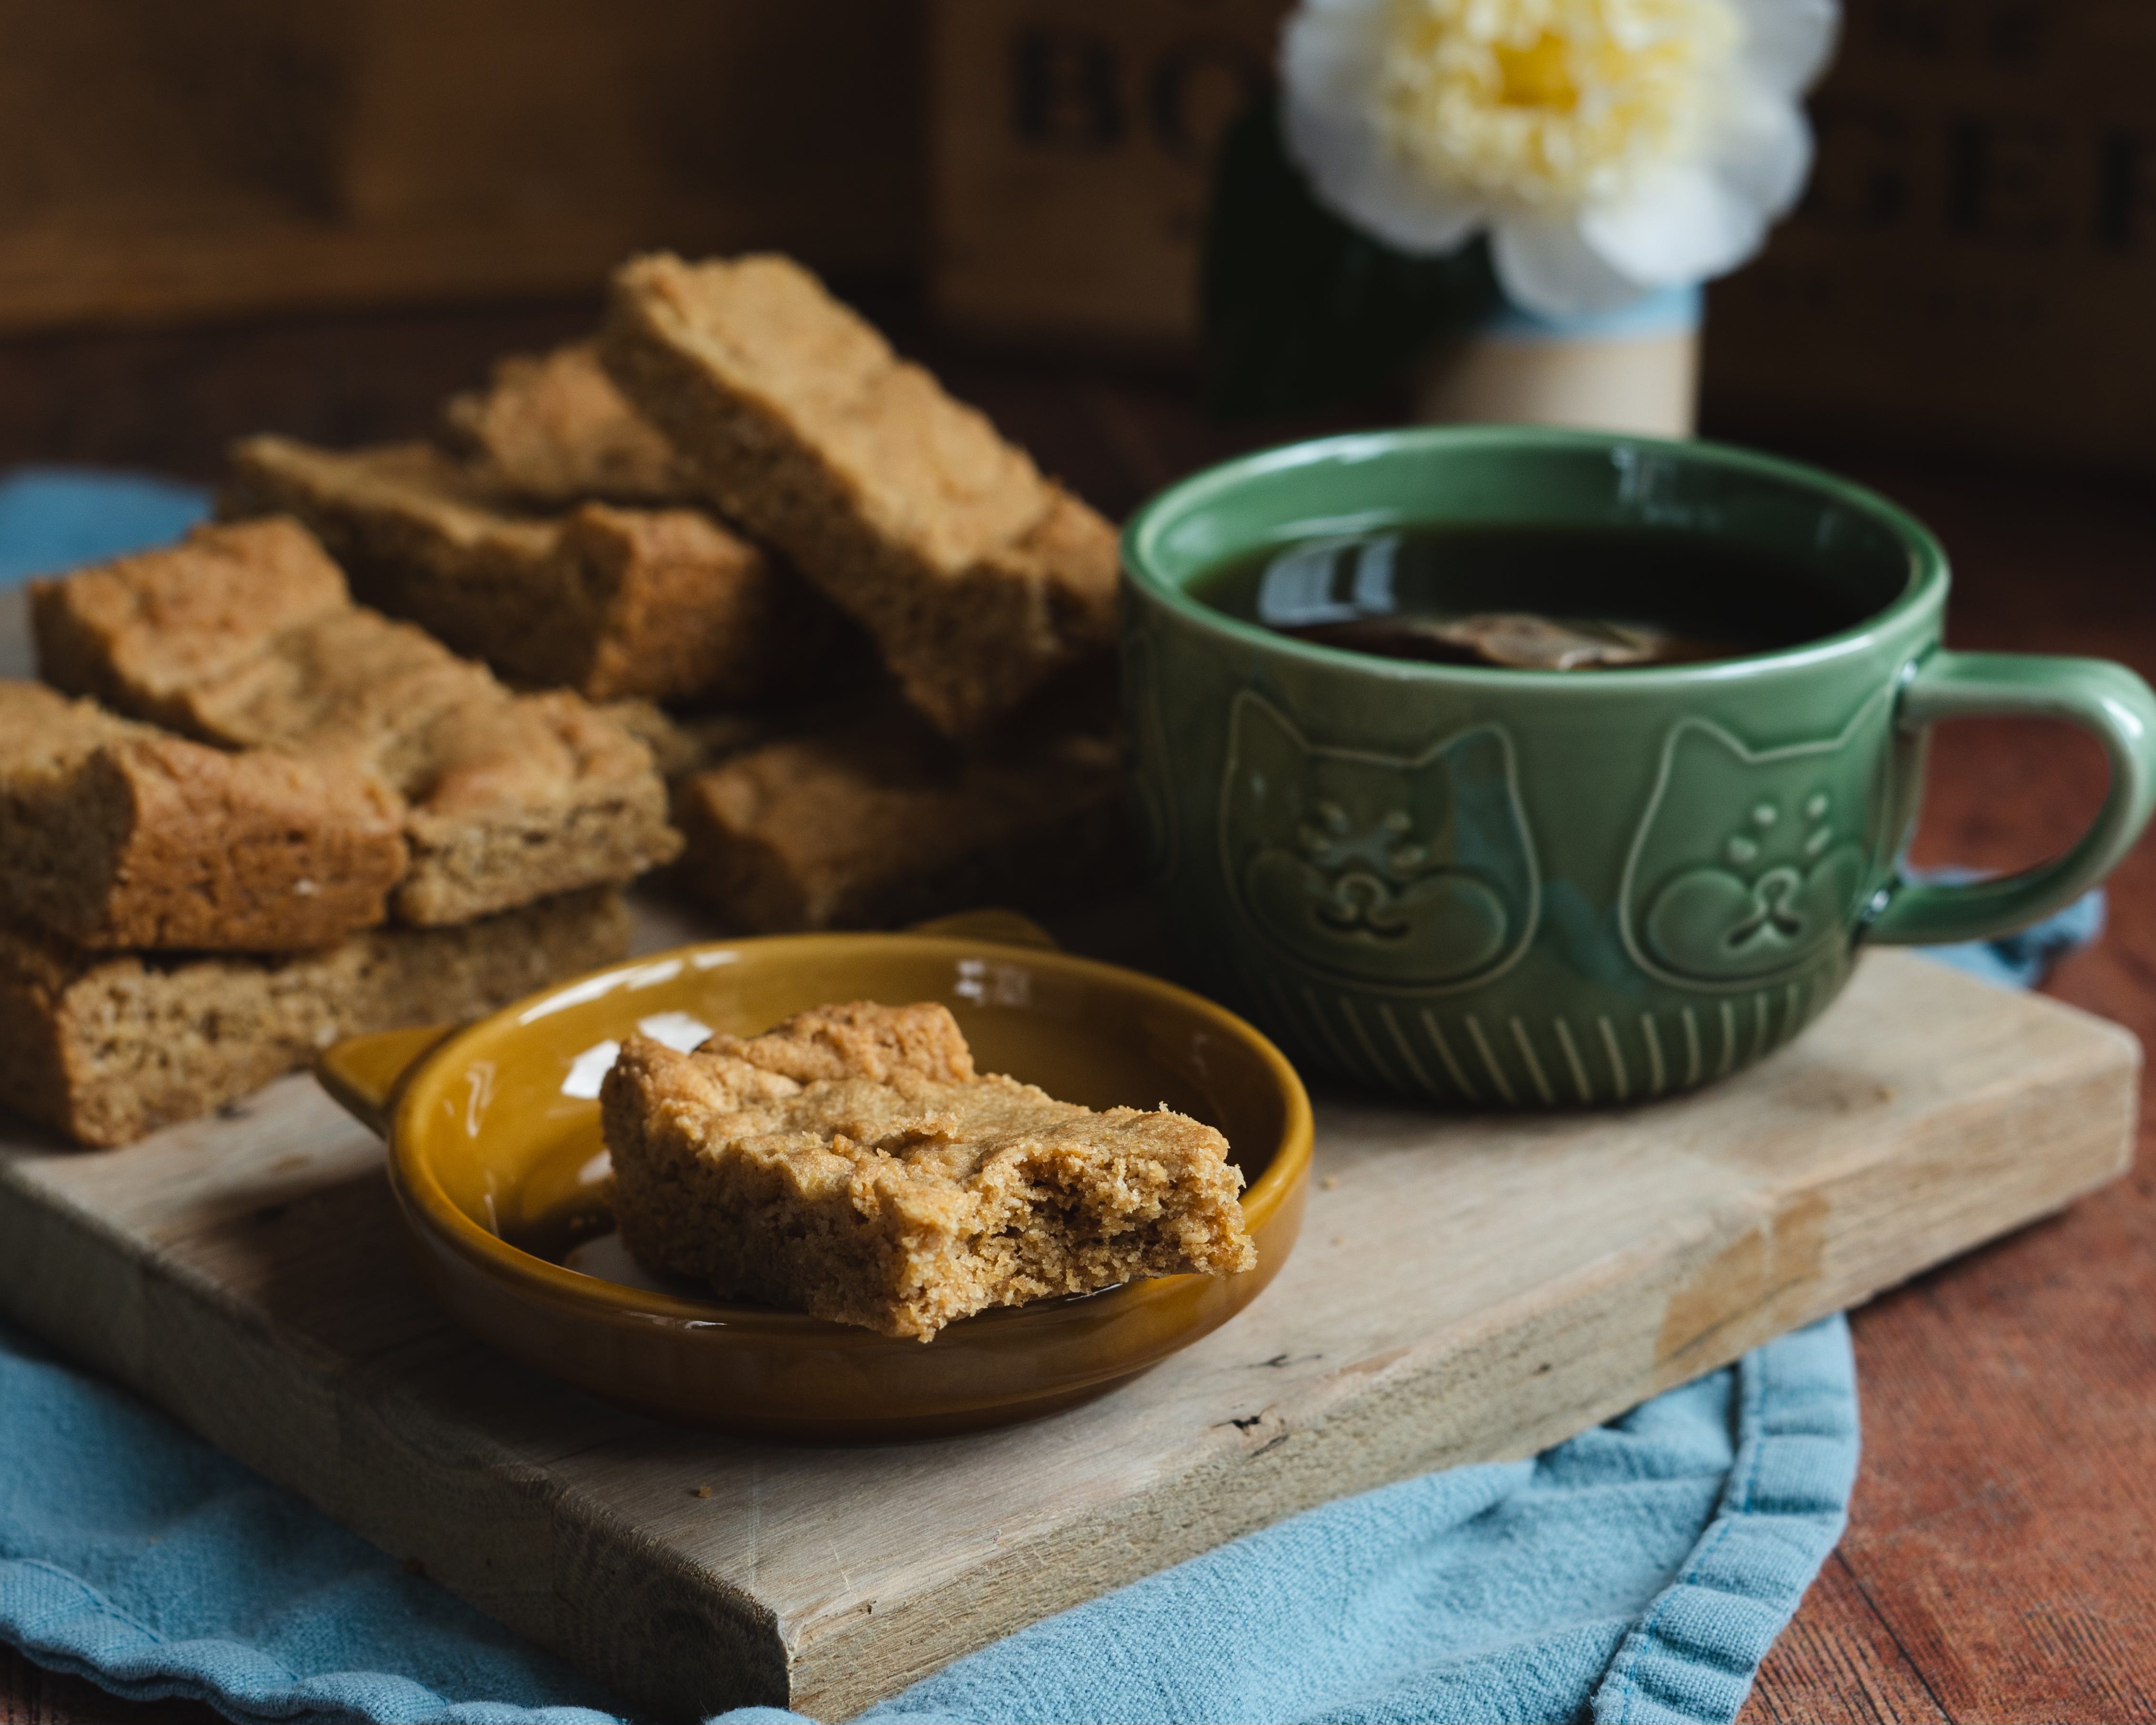
Recipe - Snack: Peanut Butter Oaty Biscuit Slice Thingies (technical name)
These delicious oat slices should have been a fairly simple and easy recipe to make, but I still managed to forget to add in the egg after creaming the butter and sugars together. I realised just as I was about to spoon the mixture into the tray, naturally - so added it in at that point. This could be the reason why they turned out more biscuit-like, than chewy oat bar. I’ll retry this one next week.
Prep time: 5 mins (30 if you keep your eggs in the fridge)
🧈 Ingredients
100g granulated sugar
100g brown sugar
125g creamy peanut butter
115g salted butter, softened
1 large egg
125g all-purpose flour
1/2 tsp baking soda
90g rolled oats
🥣 Instructions
Preheat the fan oven to 160°C.
Lightly grease a 23x33 cm baking dish and set aside.
In a large bowl, cream together the granulated sugar, brown sugar, peanut butter, and butter until light and fluffy. Add in the egg and beat together.
Add in the flour, baking soda, and oats, mixing until fully combined.
Press the mixture into the prepared baking dish and bake in the preheated oven for about 15 minutes.
Remove from the oven, and allow to cool in the pan. Cut into bars.
If you’re enjoying this post, please feel free to share!
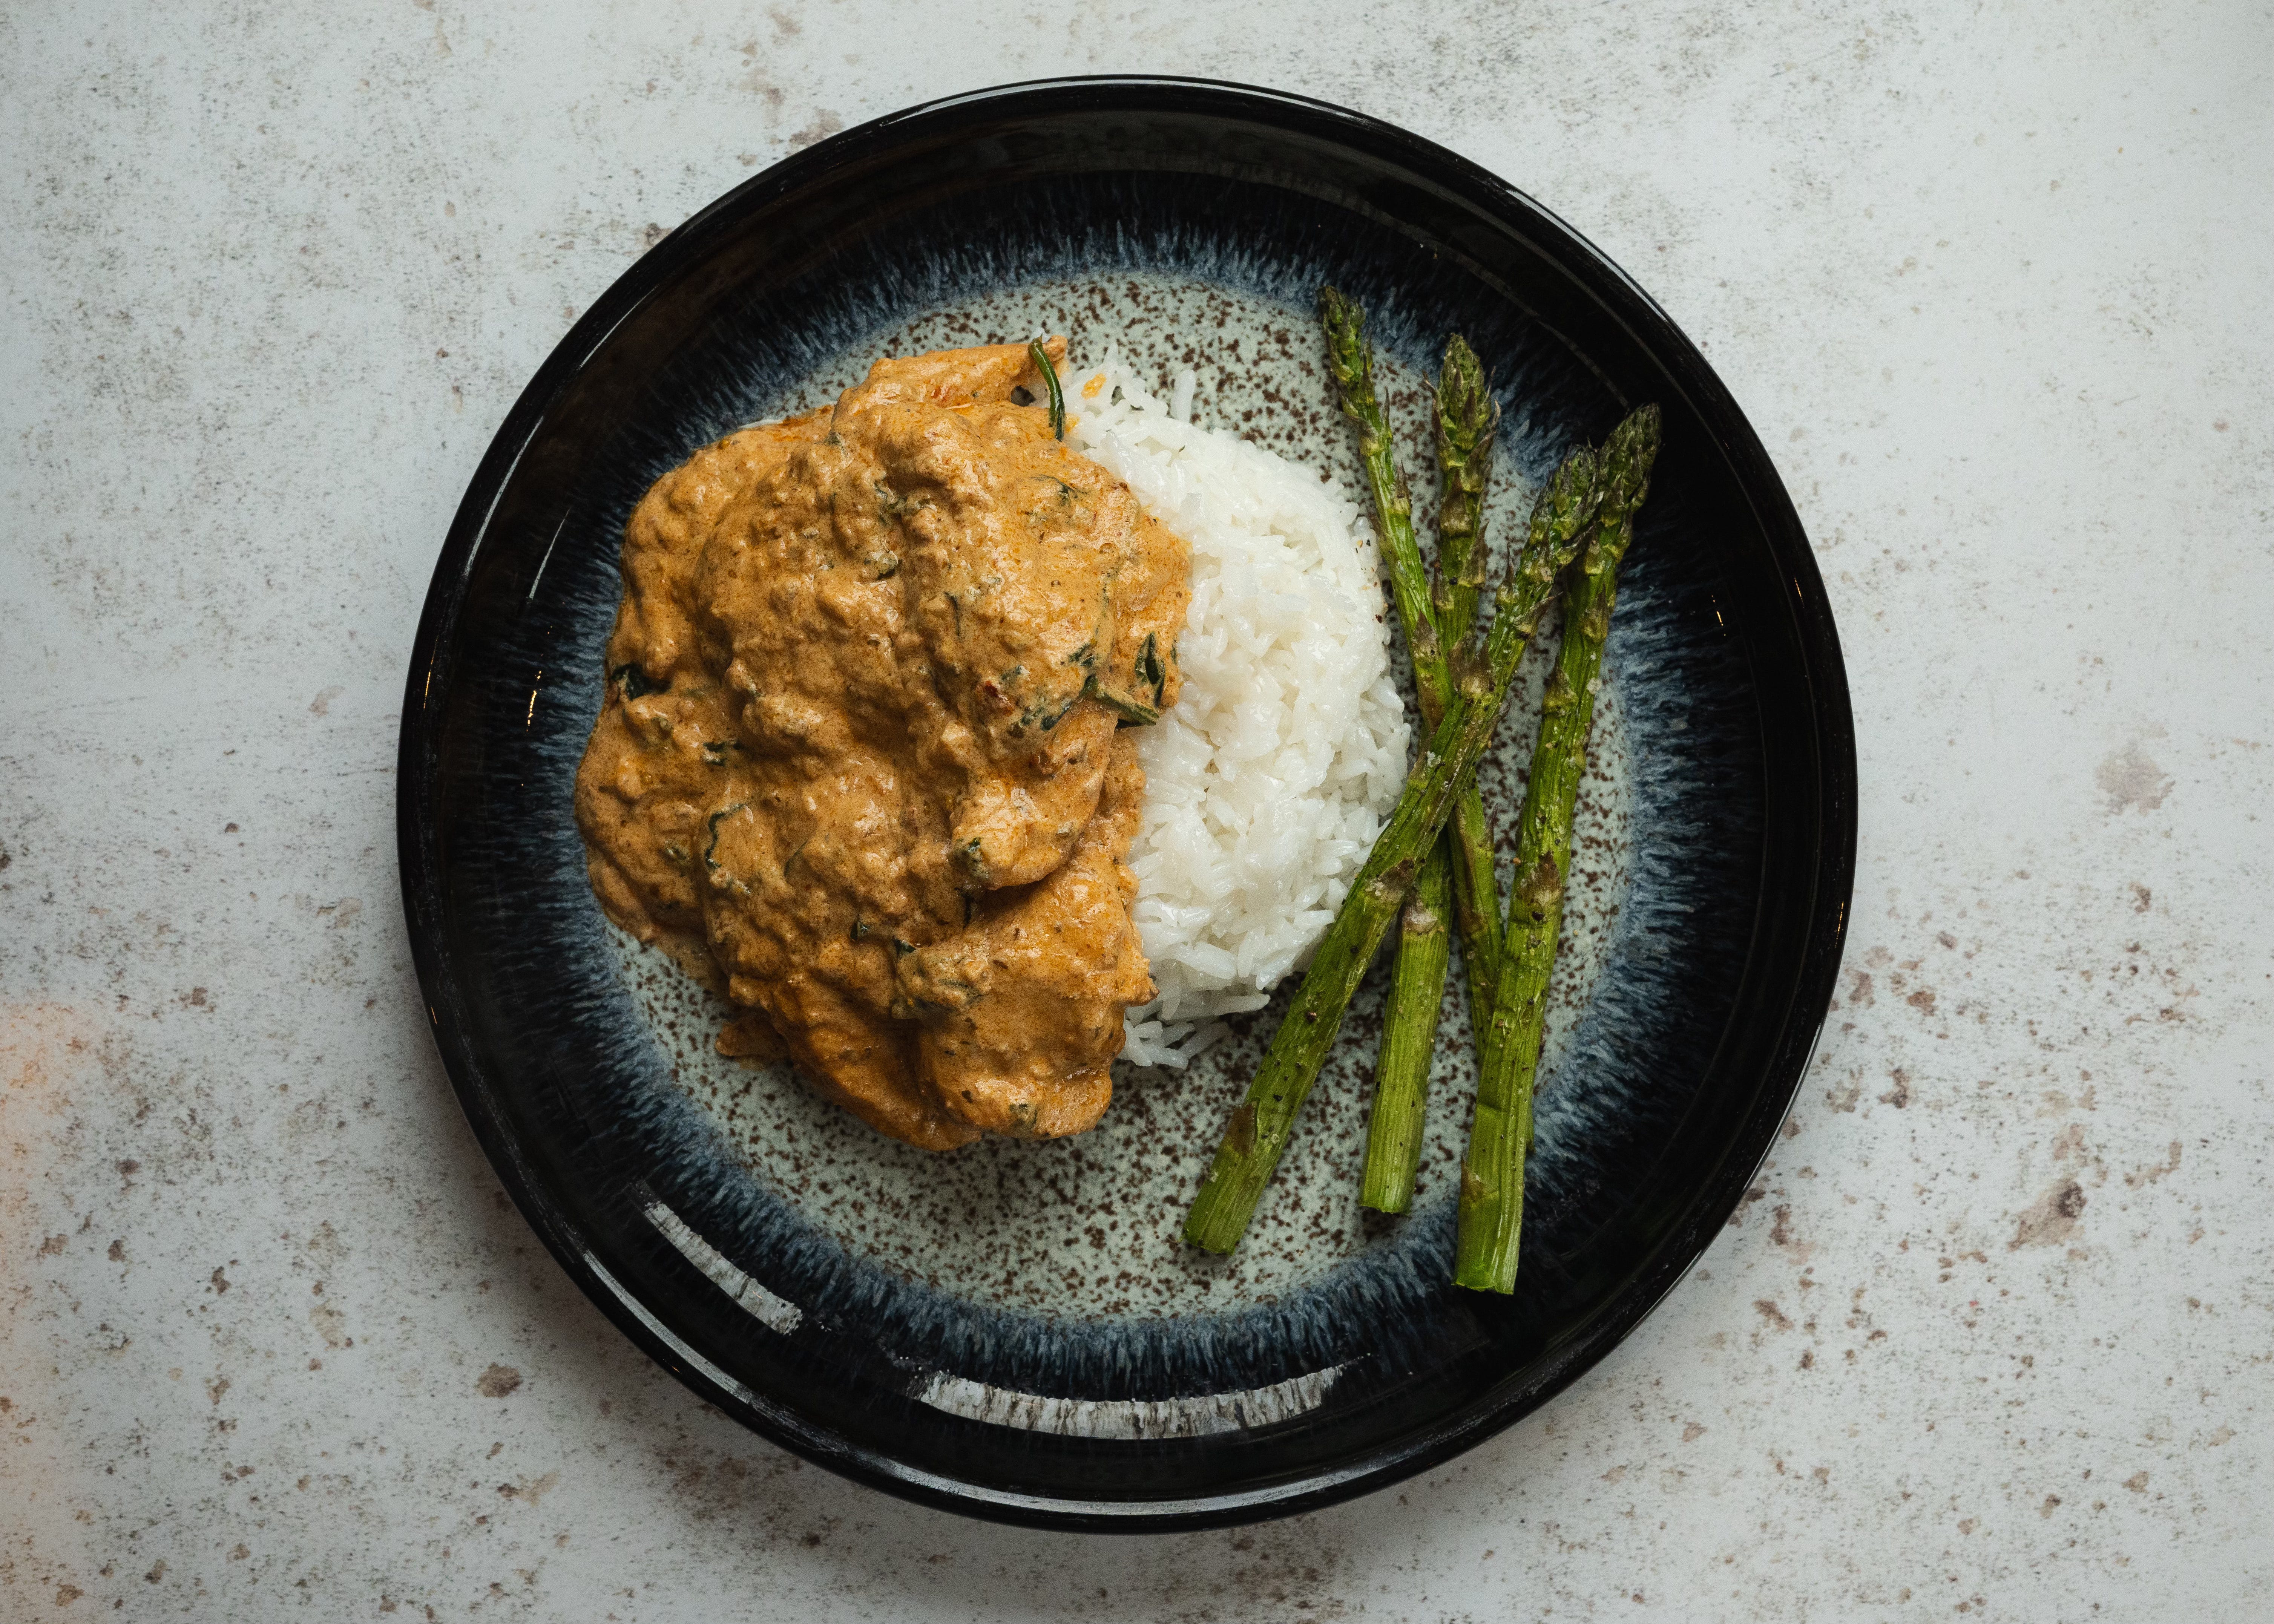
Recipe - Lunch/Dinner: Creamy Sun-Dried Tomato Chicken with Rice and Grilled Asparagus
My absolute pride and joy dish this week! It’s just chicken in a sauce with rice and asparagus, I hear you say. But hey, I’m still bloody chuffed that I was able to make something that tasted this good, by scratch.
Real talk: making this for me and Ben this week has made me realise I can cook delicious food for us. Ben is the main meal maker in this house, but I’m hoping to take over that role over the next couple of months. This is a good first step!
🧈 Ingredients for the chicken
400g chicken mini fillets, uncooked
1 tsp sweet paprika
1 tsp dried oregano
1/2 tsp garlic granules
Black pepper and salt
1/2 tbsp olive oil
🥣 Instructions for the chicken
In a bowl add all spices, olive oil and combine well
Rub the spice mix all over the chicken mini fillets
Bake, air fry or pan fry until cooked thoroughly. I chose to air fry as thought it would be easier to let it do it’s thing whilst I focused on making the sauce! Whilst the chicken is cooking, move on to making the sauce:
🧈 Ingredients for the sauce
4 garlic cloves, minced
Me: Hey Dawn, how exactly do you mince garlic cloves?
Dawn: Mincing garlic is a simple process that makes the garlic small enough to distribute flavour evenly in dishes. Here’s how to do it:
Peel the Garlic Cloves: Separate the cloves from the bulb and use the flat side of a knife to gently press down on a clove until the skin loosens, making it easy to peel off.
Slice the Cloves: Once peeled, lay the clove flat on a cutting board and slice it lengthwise into several slivers. Be careful to keep your fingers away from the blade.
Chop into Smaller Pieces: Rotate the sliced pieces 90 degrees and chop them into smaller pieces. You can repeatedly run your knife over the pieces, using a rocking motion, to cut them into even smaller bits.
Mince Finely: Continue to chop the chopped garlic, occasionally gathering the pieces into a pile and chopping through them again until they reach the desired size of mince.
For a finer mince, you can sprinkle a pinch of coarse salt on the chopped garlic. The salt acts as an abrasive and helps break down the garlic further as you chop. This technique not only helps mince the garlic more finely but also mellows some of the garlic's sharpness.
1/2 tsp chilli flakes
1 tsp dried oregano
Black pepper and salt
250ml single cream
190g sun-dried tomato sauce
30ml water
Handful of baby spinach
1/2 tbsp olive oil
🥣 Instructions
Heat olive oil in a pan, add the minced garlic and chilli flakes and fry for 40-50 seconds
Next, add the sun dried tomato sauce, single cream, water, dried oregano, black pepper, salt, spinach. Give it a good stir.
Add the cooked chicken fillets, cover with a lid and simmer until sauce is thickened.
I served this dish with rice and grilled asparagus.
I made the grilled asparagus by covering them with olive oil, salt and pepper - then stuck them under the grill for 10-15 mins, depending own how al-dente or soft you like them!
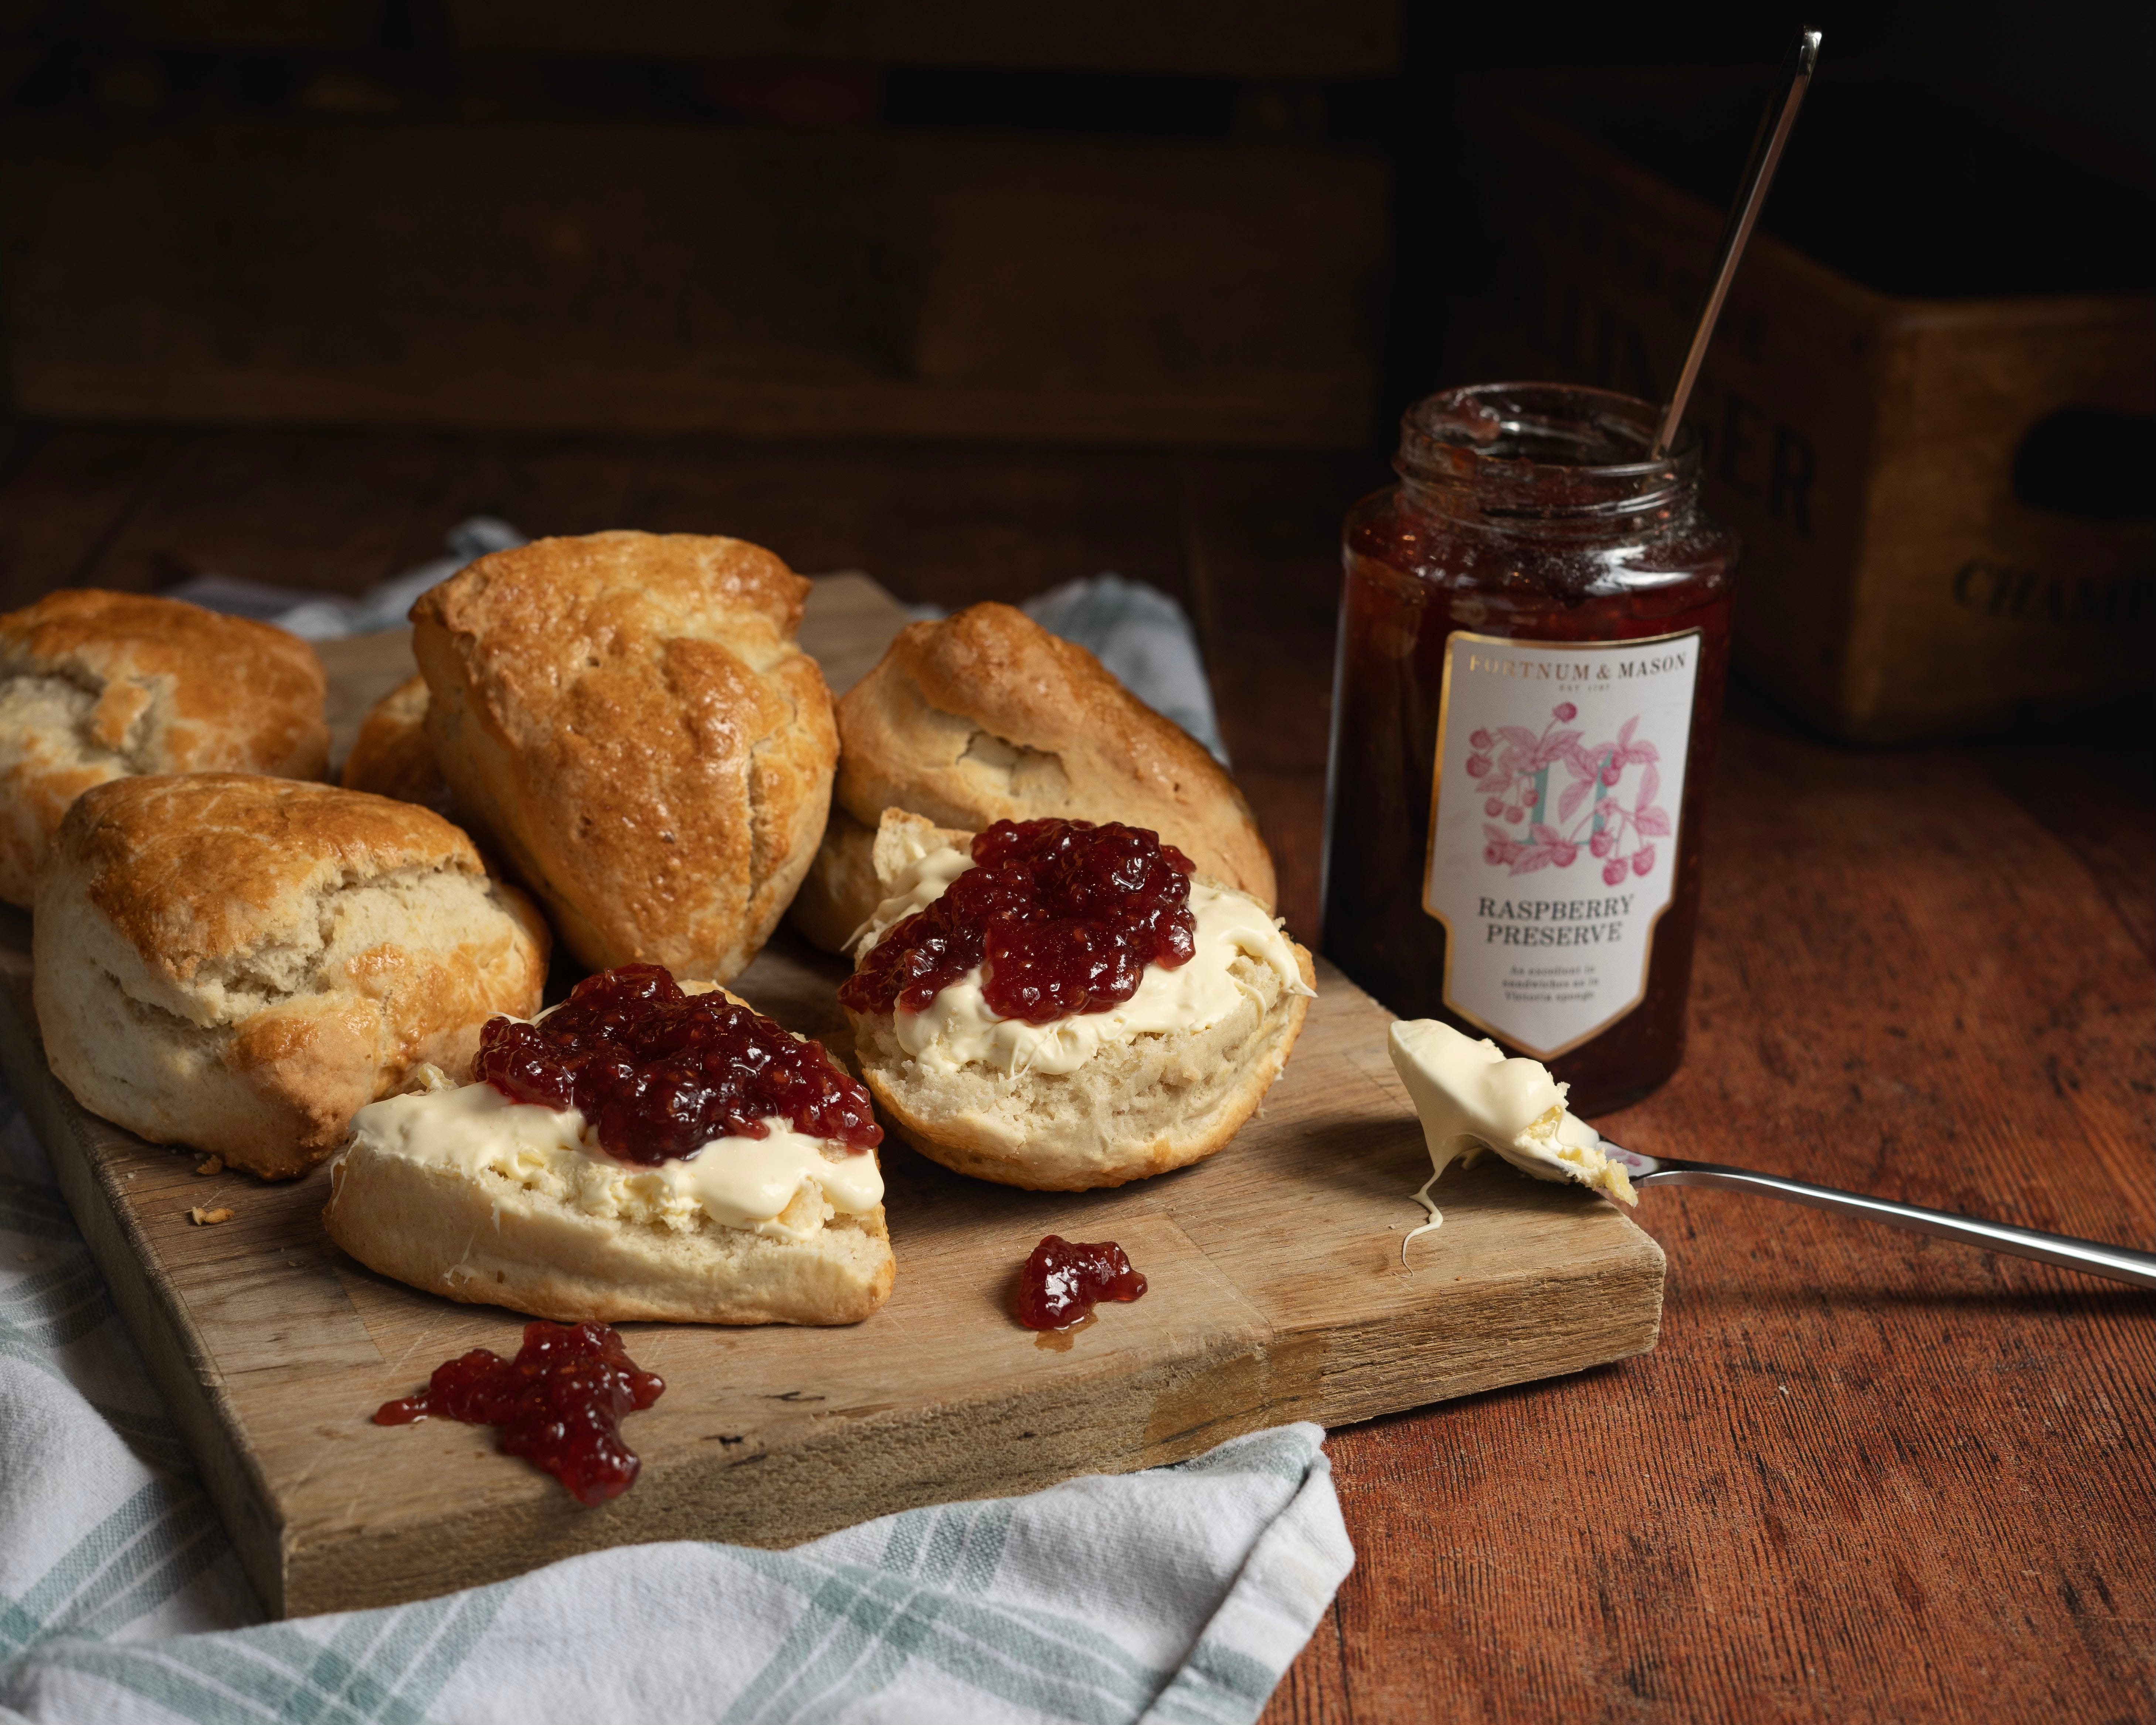
Recipe - Dessert/Snack: Scones
After having a quick Google to see what I could make for St George’s Day this week - there was a clear winner in my mind. Scones!
I had a blast making these and honestly, I can’t begin to explain how much fun I’m having with photographing what I make, too. This particularly proud of this photo as I feel like I’ve hit the mark with telling a story.
There we are, some very, very rustic looking yet delicious scones. I’m not sure what shape they’re supposed to be, but they tasted bloody good - and that’s the main thing!
🧈 Ingredients
350g self-raising flour, plus more for dusting
1 tsp baking powder
85g butter, cut into cubes
3 tbsp caster sugar
175ml milk
1 tsp vanilla extract
squeeze lemon juice (see tips below)
beaten egg, to glaze
jam and clotted cream, to serve
🥣 Instructions
Heat the oven to 200C fan.
Tip the self-raising flour into a large bowl with ¼ tsp salt and the baking powder, then mix.
Add the butter, then rub in with your fingers until the mix looks like fine crumbs. Stir in the caster sugar.
Put the milk into a jug and heat in the microwave for about 30 secs until warm, but not hot. Add the vanilla extract and a squeeze of lemon juice, then set aside for a moment.
Put a baking tray in the oven. Make a well in the dry mix, then add the liquid and combine it quickly with a cutlery knife – it will seem pretty wet at first.
Scatter some flour onto the work surface and tip the dough out. Dredge the dough and your hands with a little more flour, then fold the dough over 2-3 times until it’s a little smoother.
Split the dough in half and pat both into a round shape about 4cm deep. Take a smooth-edged cutter and split them in to 4, making 8 triangles in total.
Brush the tops with a beaten egg, then carefully arrange on the hot baking tray.
Bake for 10 mins until risen and golden on the top!
Service with jam and clotted cream, hot or cold.
Which leaves me with one last thing to say, or ask: are you a cream-jammer, or jam-creamer? Let me know in the comments!
Another long post this week, so if you have made it this far, thank you for reading!
I’m looking forward to getting stuck into more new recipes this week and I have very excitedly started ‘tending to my garden’. And by that I mean I’ve planted a few seeds in some pots and now we wait to see if they actually grow. I’d love to be cooking with stuff I’ve grown in the garden, so fingers crossed! I’ll keep you posted each week on how they’re doing.
Until next time, friends
-Mark
For someone who doesn't know what they're doing in the kitchen, you do a very good job of looking like you do! Really glad that Mark's gathering persuaded you to get started here. And writing what you know (or don't know, in your case) is almost always the best way to go about doing it. Married to a Cornish girl, but heretically think it should always be cream first (we don't share many cream teas together).
I love that you’re writing about what you don’t know how to do - so appealing to someone like me who’s a fairly rubbish cook…. I’m definitely a cream-jammer