


My first month on Substack
Plus: blueberry yoghurt cake, lemon blondies and creamy, cheesy beans

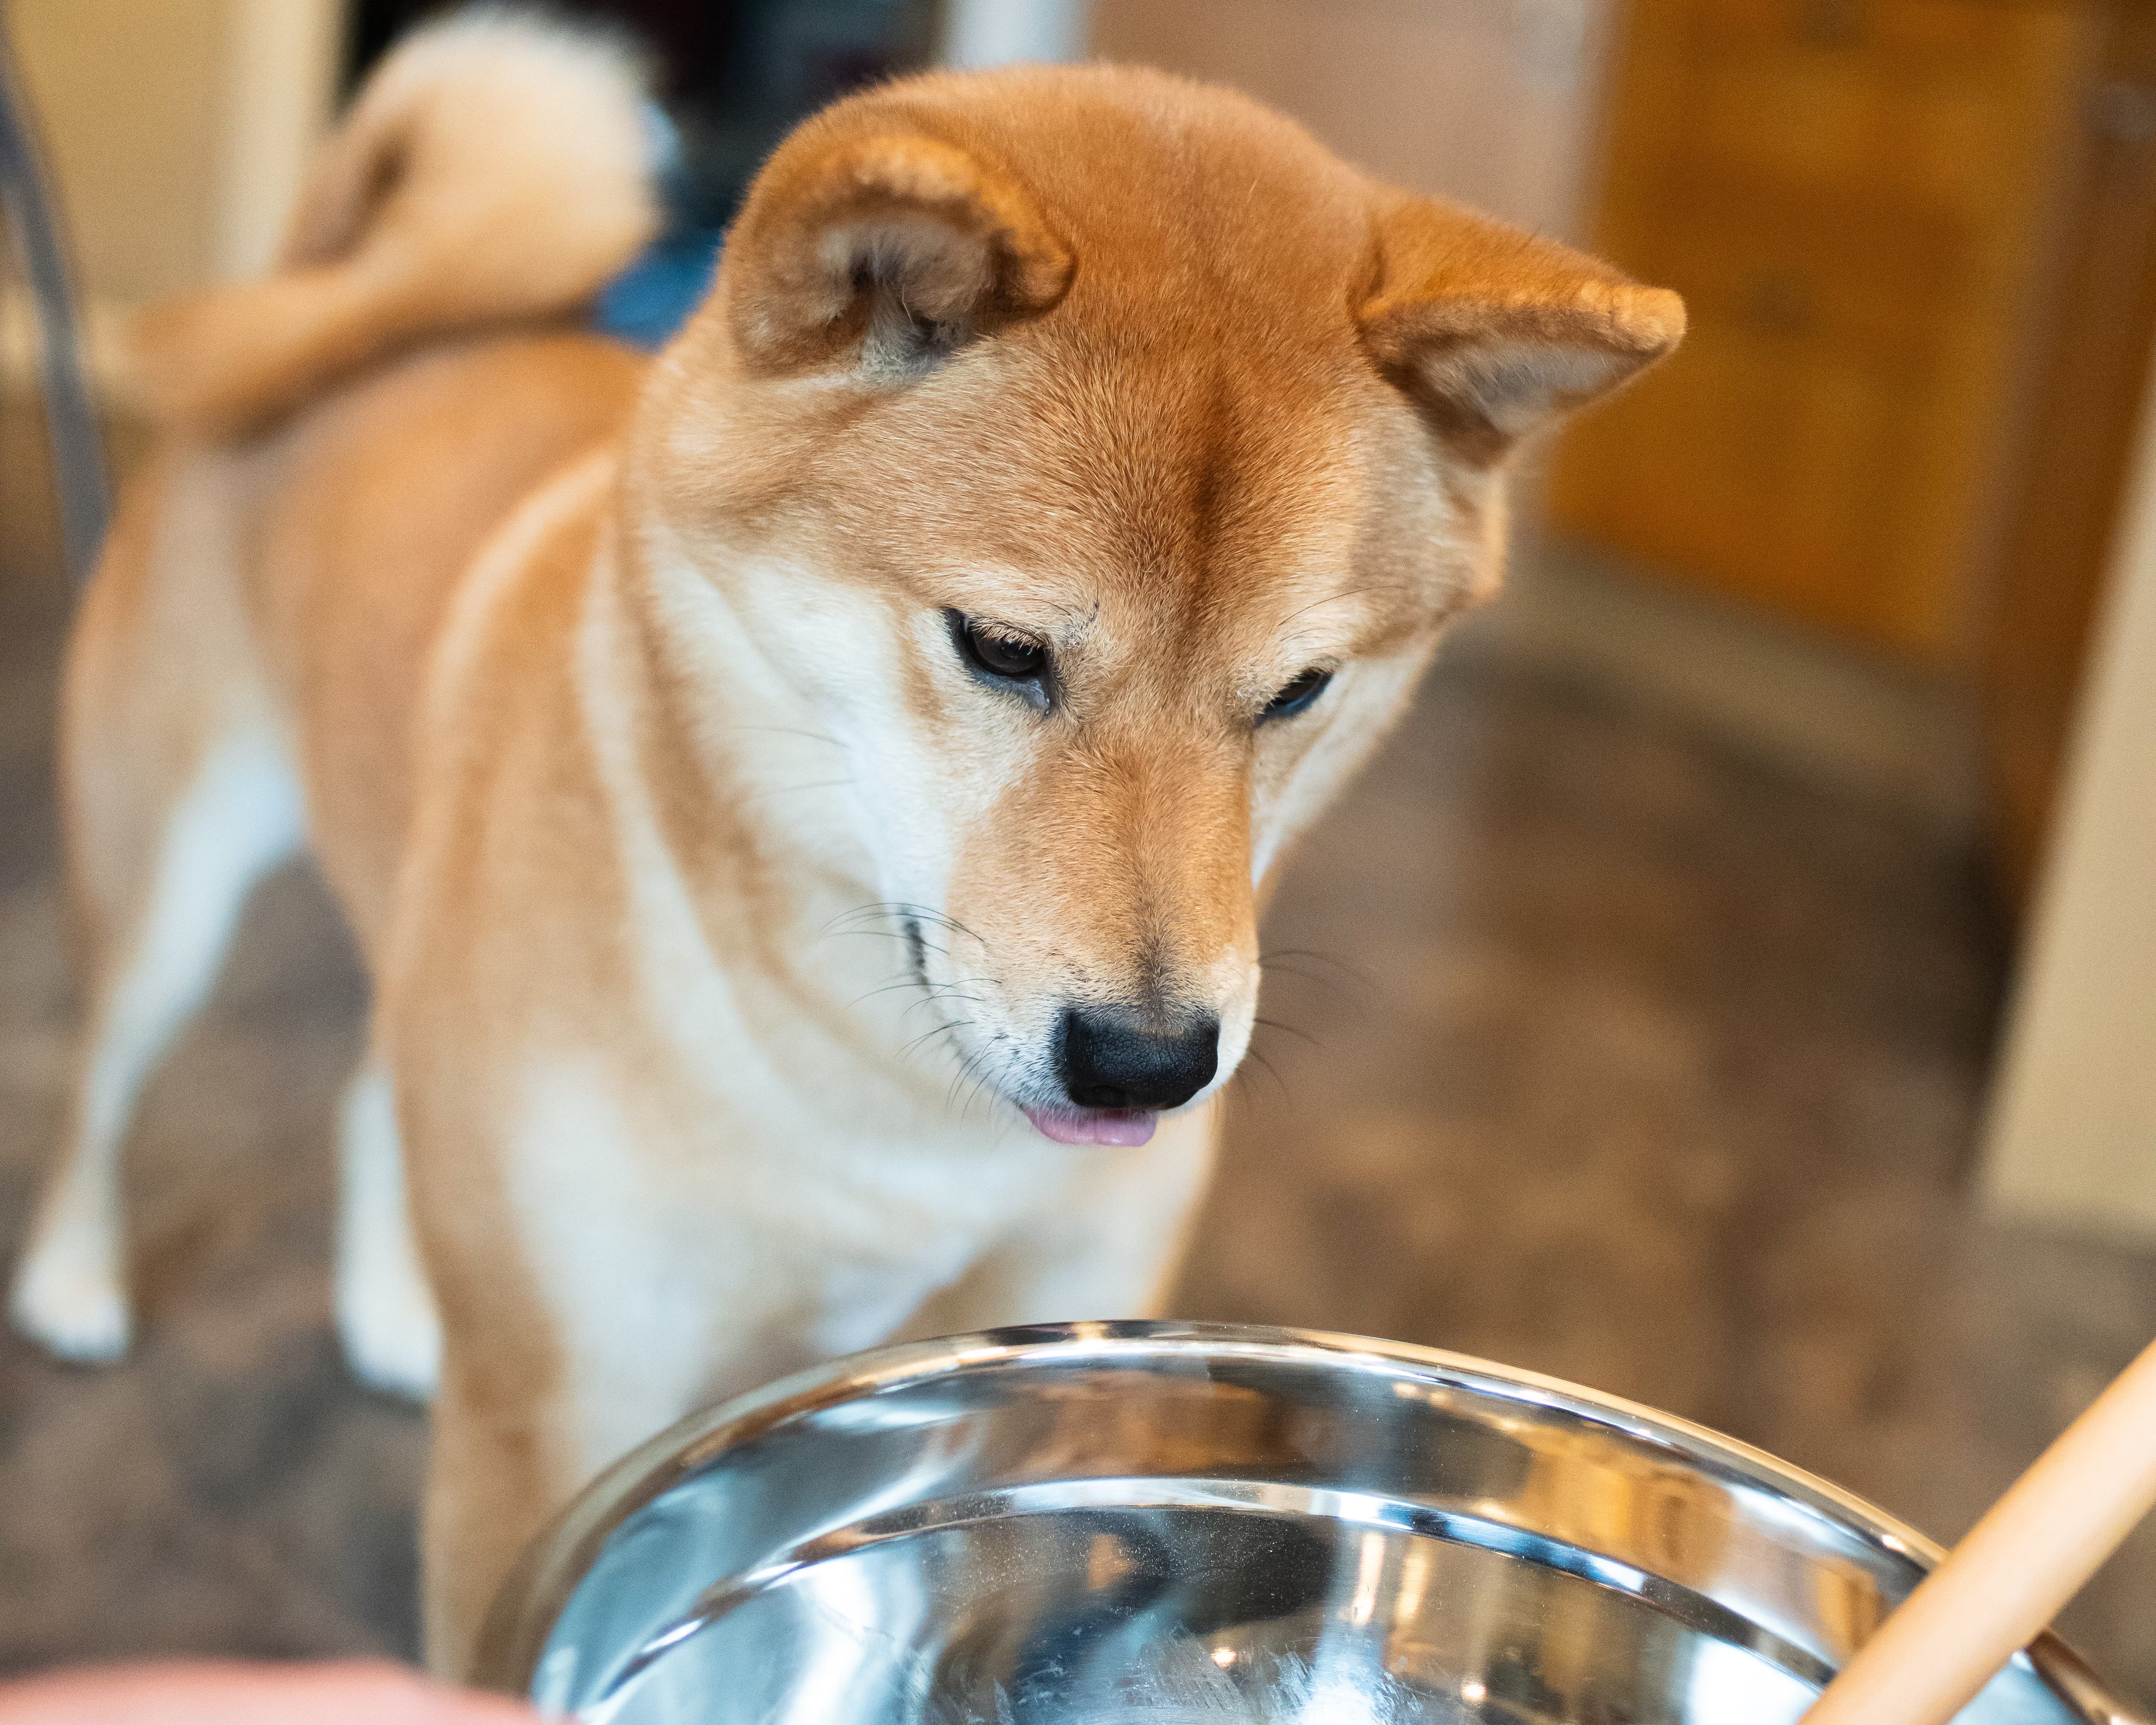
If you’re new here, hello and welcome! I’m Mark - and I have absolutely no idea what I’m doing in the kitchen. I’m documenting my journey to become a better cook and food photographer. To learn a little bit more about me (and my dog Hiro, who’ll you see a lot of!), the below post is the best place to start:

Hey Dawn: This week Dawn teaches me how to make a ‘double boiler’.
Look out for my ‘Hey Dawn’ marker to find out how.
Hello and happy Sunday, friends.
Today marks the 1 month anniversary of starting this Substack! 🎉
It’s one of those weird paradoxes: it feels like I only started yesterday - but at the same time, like I’ve been at it for years. Despite not knowing how to cook and being totally pants at writing, here I am writing a Substack about navigating the kitchen and sharing my life one recipe at a time. It’s funny how life works, eh.
There’s a lot I’ve learned in my short time on Substack so far. But 3 key things stand out:
Being authentic, writing from the heart and having fun opens you up to meeting some amazing people, whether that’s fellow Substackers (is that the term?), readers or connecting with people in real life.
Making the decision to go all in on Substack has felt like a lifestyle change. A decision not taken lightly, but one I can honestly say has changed my daily routine for the better. (Perhaps not so much for my waistline…)
The potential of the Substack platform feels limitless. Being able to deliver text, audio and video in one place that fosters community is a strong tool to have. It feels like email, Twitter and instagram all merged together. Minus the trolls! I have a couple of busy weeks coming up in the day job, but I’m particularly looking forward to getting stuck in to creating some video content and podcast snippets!
So to summarise: Be yourself, don’t be too caught up in the ‘how’, get involved within the community and keep an open mind!
In four short weeks, it feels like my life’s trajectory has shot off in a completely different direction than I thought it would. I’m all for manifesting an idea - putting it out in to the universe to feast on hard work and get plump until it’s ready to burst into reality.
I’m not entirely sure what that idea looks like at the moment, but the words that echo in my mind look something like: food, cooking, baking, photography, garden, community, content, teaching, France. Not forgetting eventually learning how to write a bit more poetically and a little less ‘brain-dump’.
I’m sure this all reads very cliché, and words that probably echo within a lot of you already. But for me it’s completely different from the tech, design, social, building path my life has been on so far!
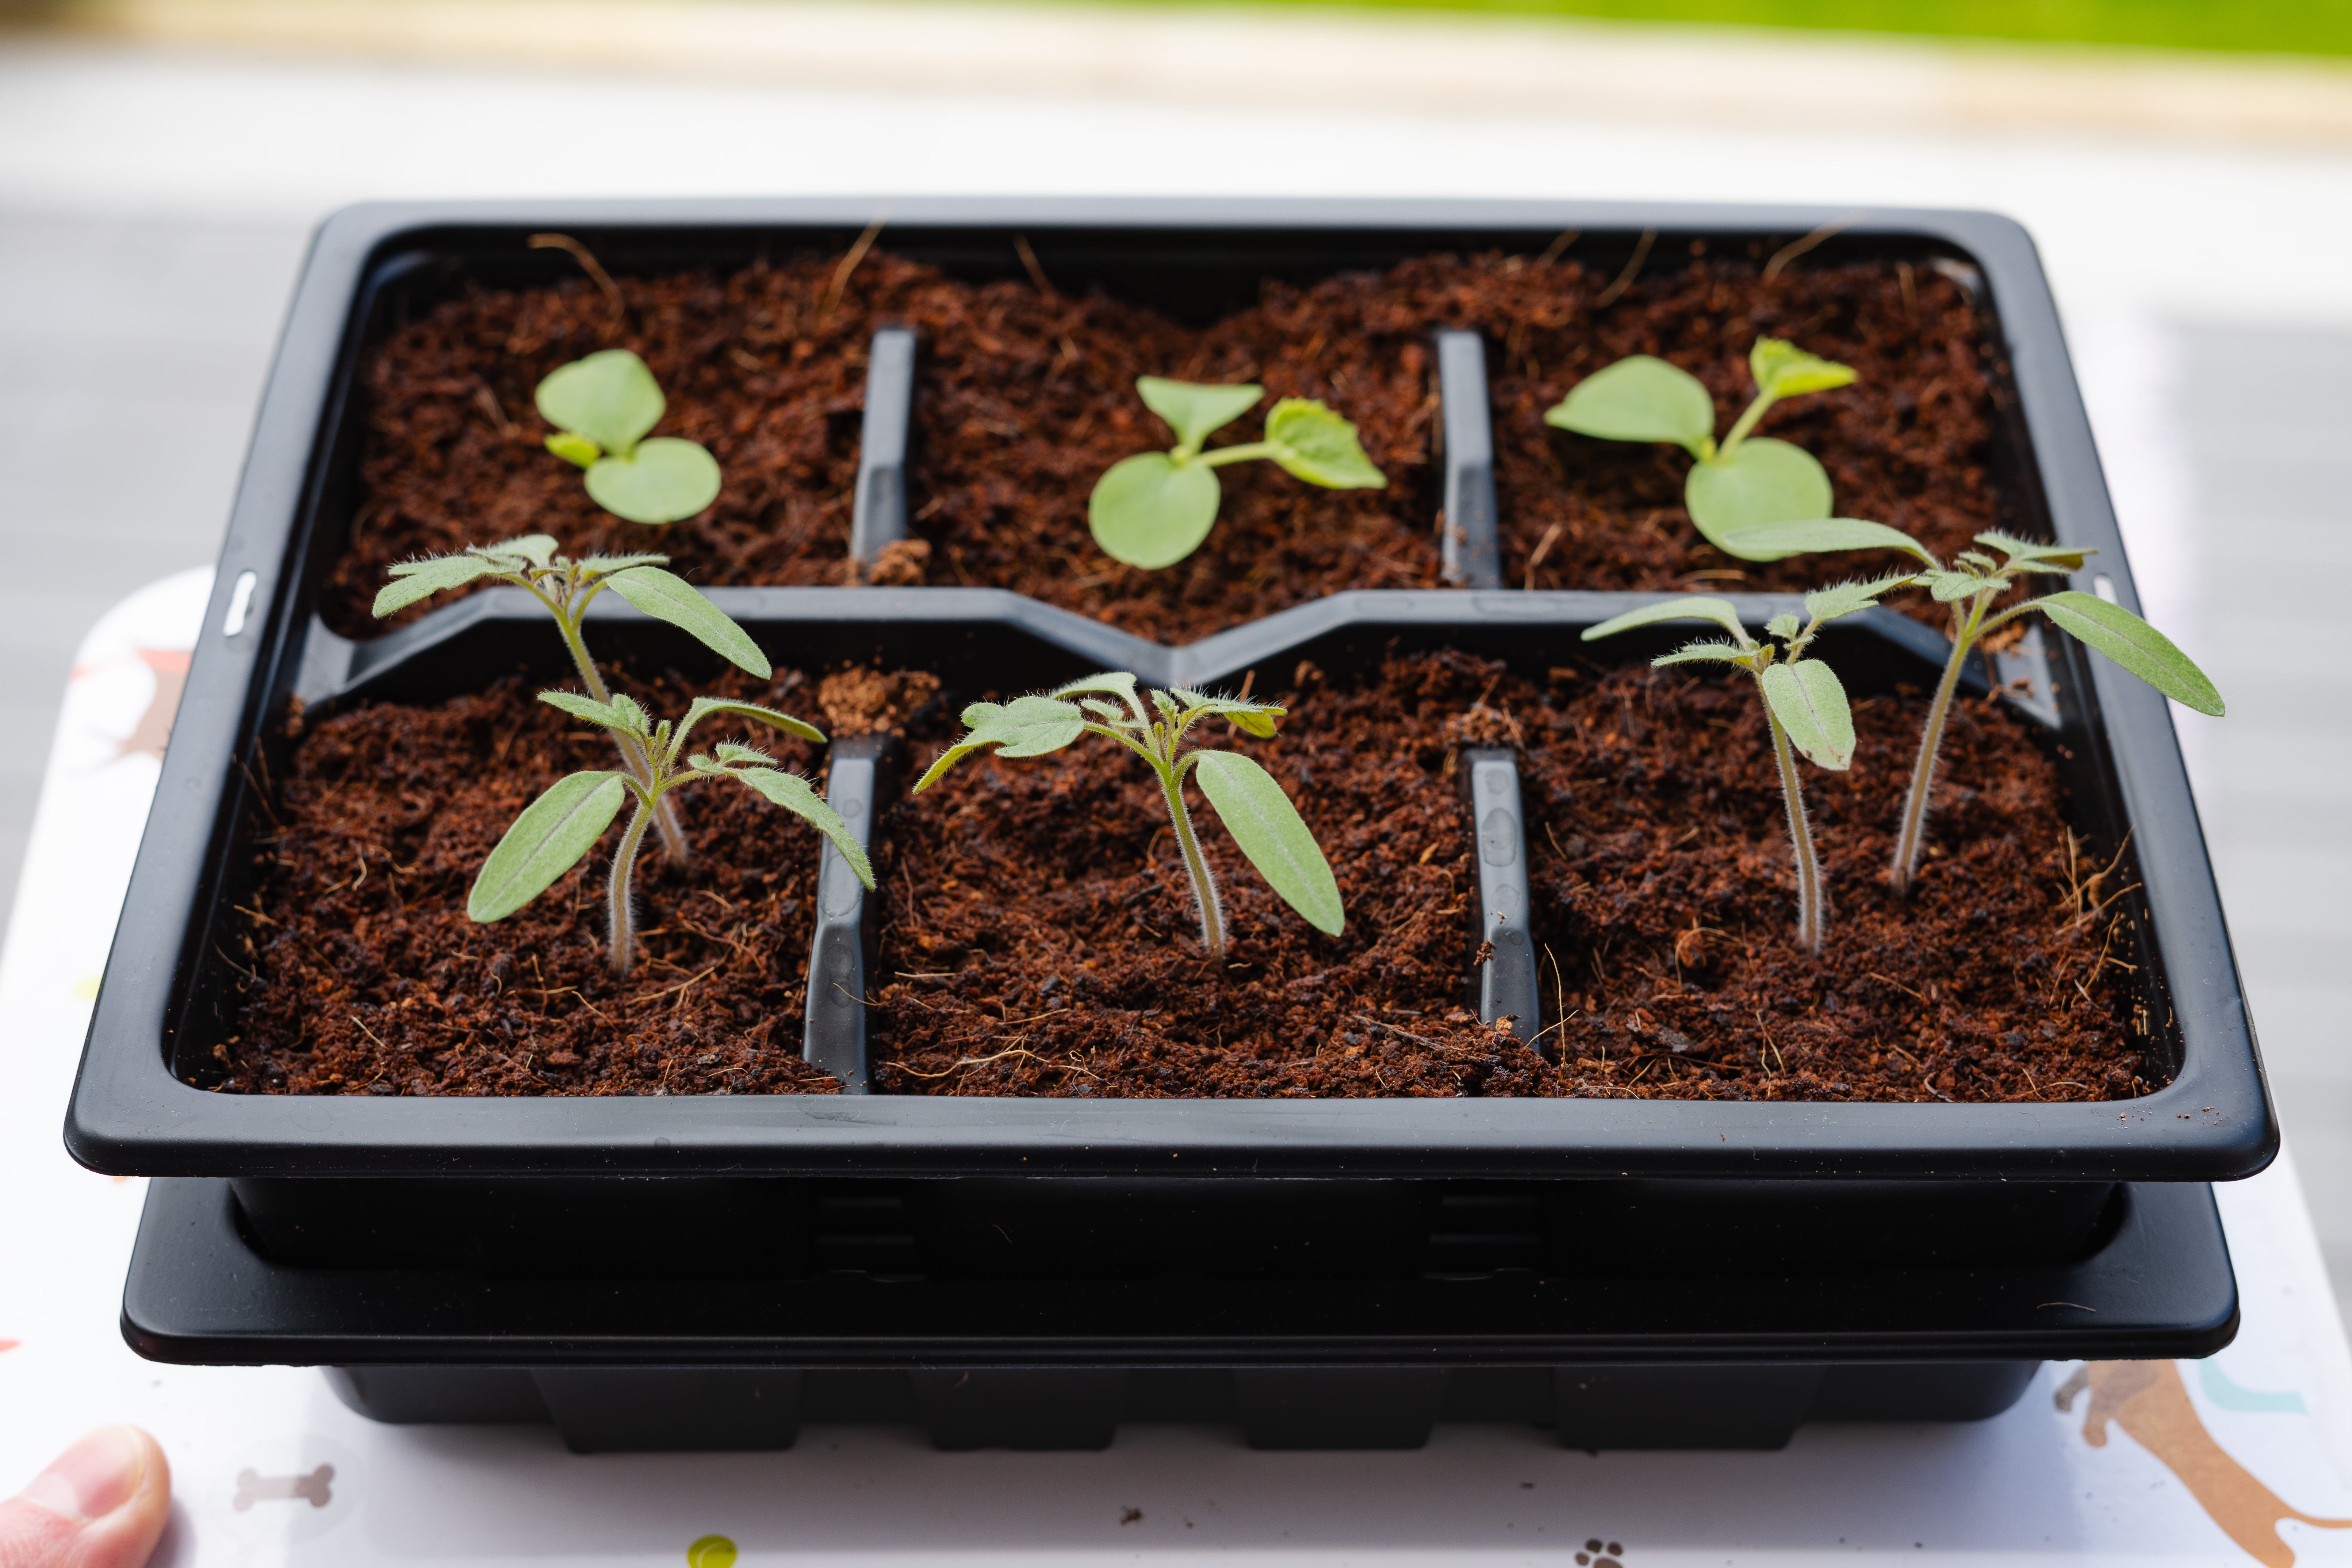
The cherry tomatoes and cucamelons are coming along very nicely! They’ve most certainly been enjoying this glorious weather we’ve been having in the UK this week. (For now, we’ll ignore the ‘danger to life’ storm warnings that are due next week)
As much as I happy clap every time I cook something new, I’m struck by the same wonderment making my morning coffee and seeing just how much these little sprouts have grown each day. Call me optimistic (or deluded), but I’ve already got a recipe in mind that I want to make once they’re ready to be harvested.
Speaking of recipes, here’s what I’ve made this week:
Blueberry yogurt cake
Lemon blondies
Creamy, cheesy sun-dried tomato beans
Refreshing blueberry lemonade
Join the crew!
This Substack is a safe space where we can all learn, laugh and love food together. Perhaps, like me, you’re just finding your way around the kitchen, or maybe you have years of fantastic experience and tips to offer - everyone is very much welcome. If that sounds good to you, subscribe!
If Instagram is more your thing, let’s be friends there:
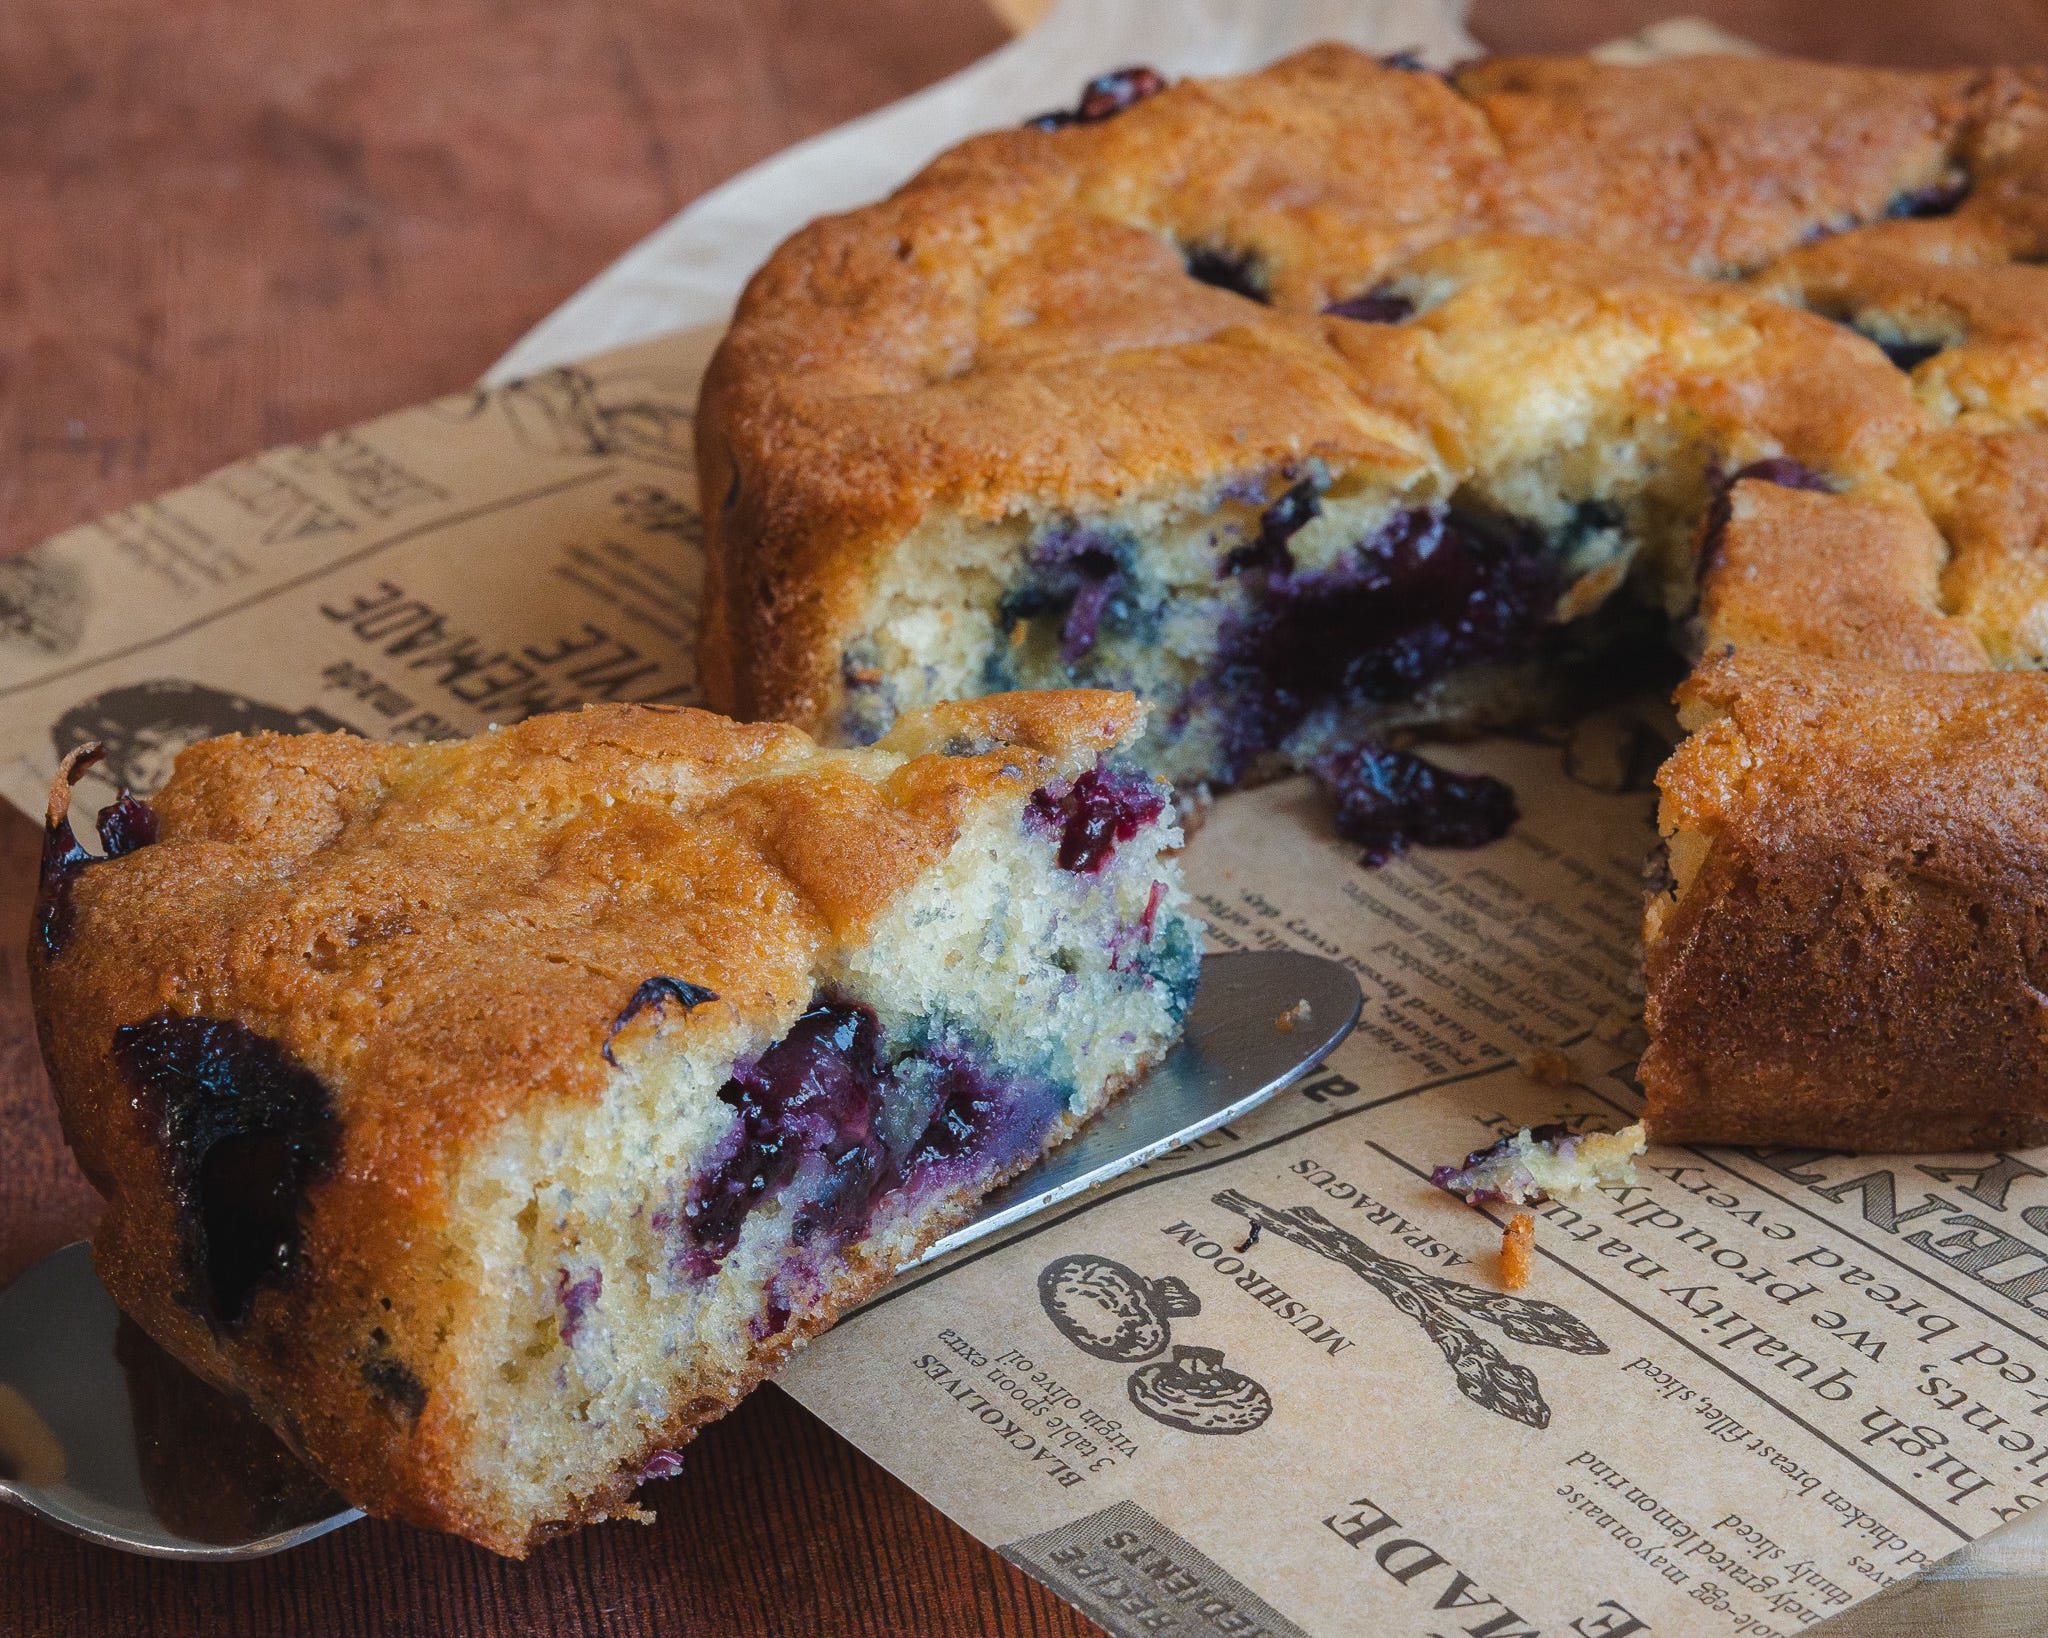
Recipe: Blueberry yoghurt cake
This blueberry yoghurt cake has to be my best bake to date. So moist - so tasty - so ‘I’ll have another slice, please and thank you’. As you’ll have probably guessed, I’m still firmly stuck in my blueberry era. I’m not sorry about it!
A super simple recipe that seemed to have the perfect cake-to-blueberry ratio, resulting in a fluffy yet gooey bake all around.
👨🍳 Prep time: Make sure your butter and egg is room temperature before you start making this recipe
🧈 Ingredients
125g all-purpose flour sifted
1/2 teaspoon baking powder
1/2 teaspoon baking soda
A pinch of salt
57g unsalted butter (softened)
133g granulated white sugar
1/2 teaspoon pure vanilla extract
1 large egg
100g Greek yogurt
150g blueberries
🥣 Instructions
Preheat your oven to 170fan with the rack in middle. Line the bottom of a 9x3-inch springform tin (or 9 inch round cake tin) with parchment paper. Grease the side of the pan with butter or cooking spray.
Sift the flour, baking powder, baking soda, and salt together into a bowl.
In a separate bowl, beat the butter and sugar until it’s light and fluffy. Add the vanilla and egg then continue beating until the mixture is very creamy and light in colour.
Next, mix in the flour in 2 batches, adding 1/2 cup Greek yogurt in between the 2 batches to the cake batter until combined. Be sure not to over mix!
Transfer the cake batter to the springform pan and scatter the blueberries evenly on top.
Bake until cake turns golden, and the tester comes out clean, about 20 to 35 minutes, depending on your oven.
I’ve found that my oven runs a little cooler than the set temperature, so I use an oven thermometer which hangs from the rack to give me an accurate reading.
When the cake is done baking, let it cool (still in the baking tin) on a wire rack for roughly an hour. You can then remove the cake from the tin and transfer to cake plate, or straight into your mouth!
If using a 9 inch round cake pan, cook in pan for about 30-40 minutes, then invert onto a plate.
Quite easily (and happily) devoured with a hot cup of Earl Grey!
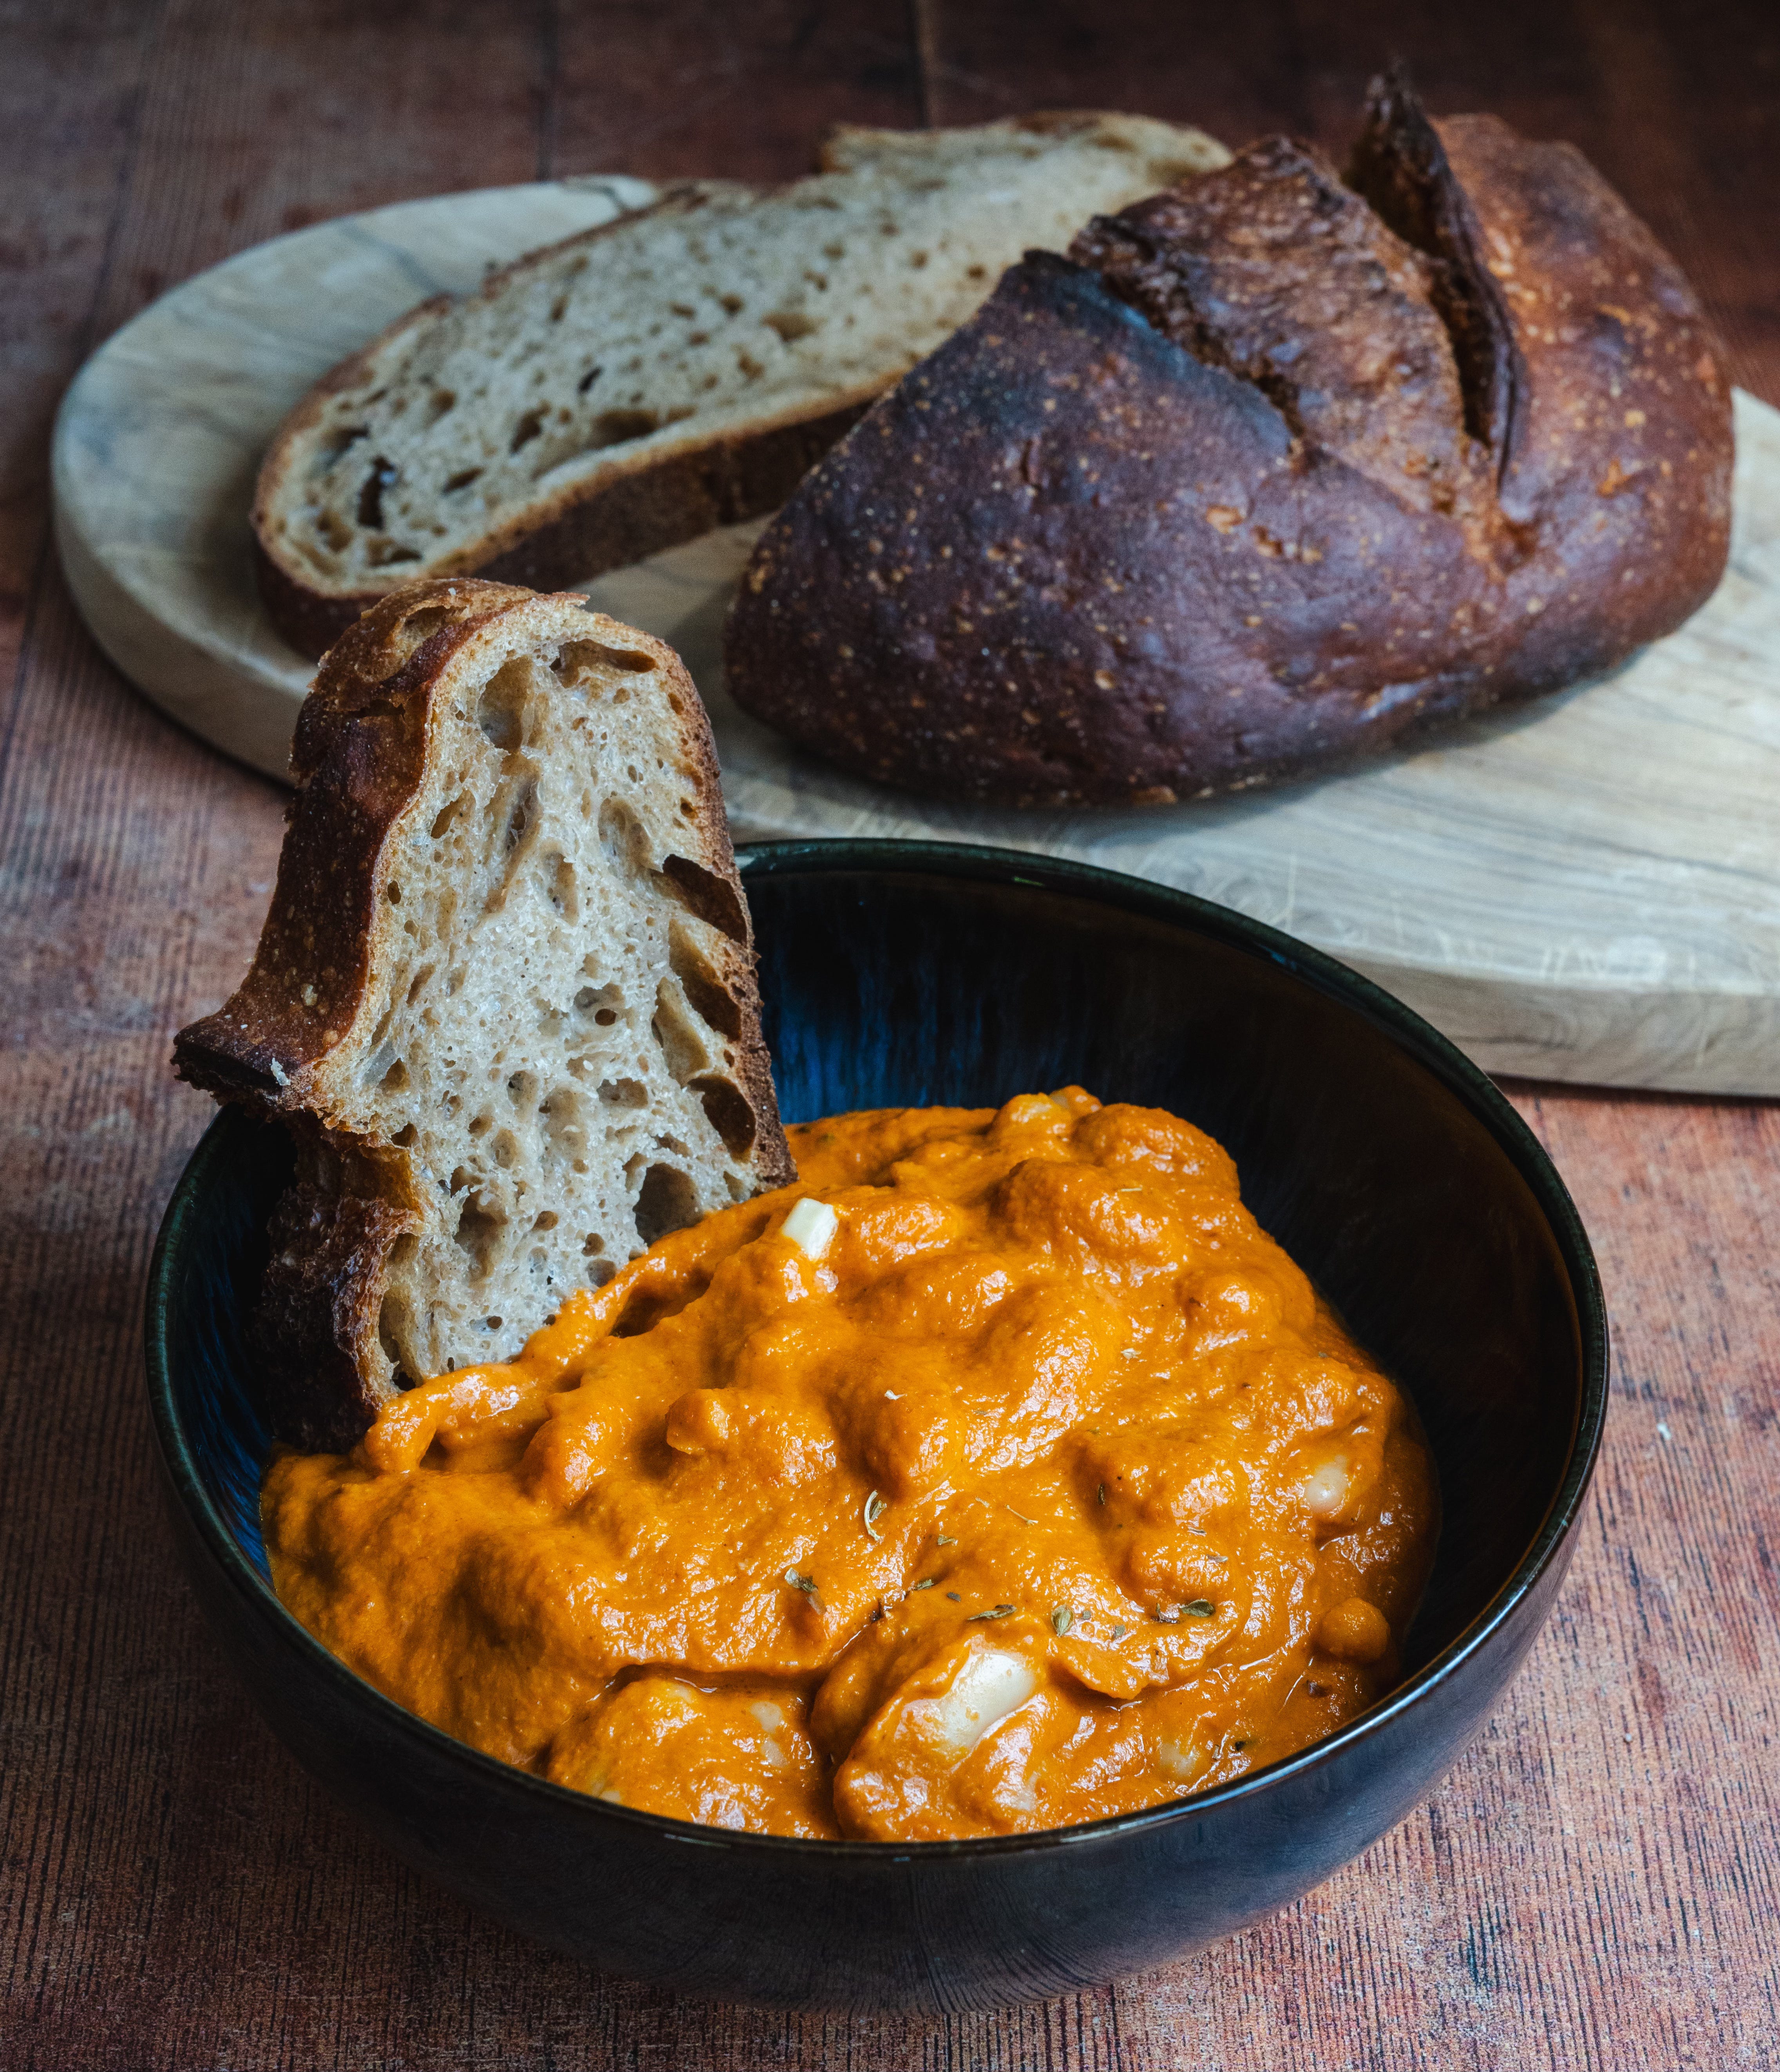
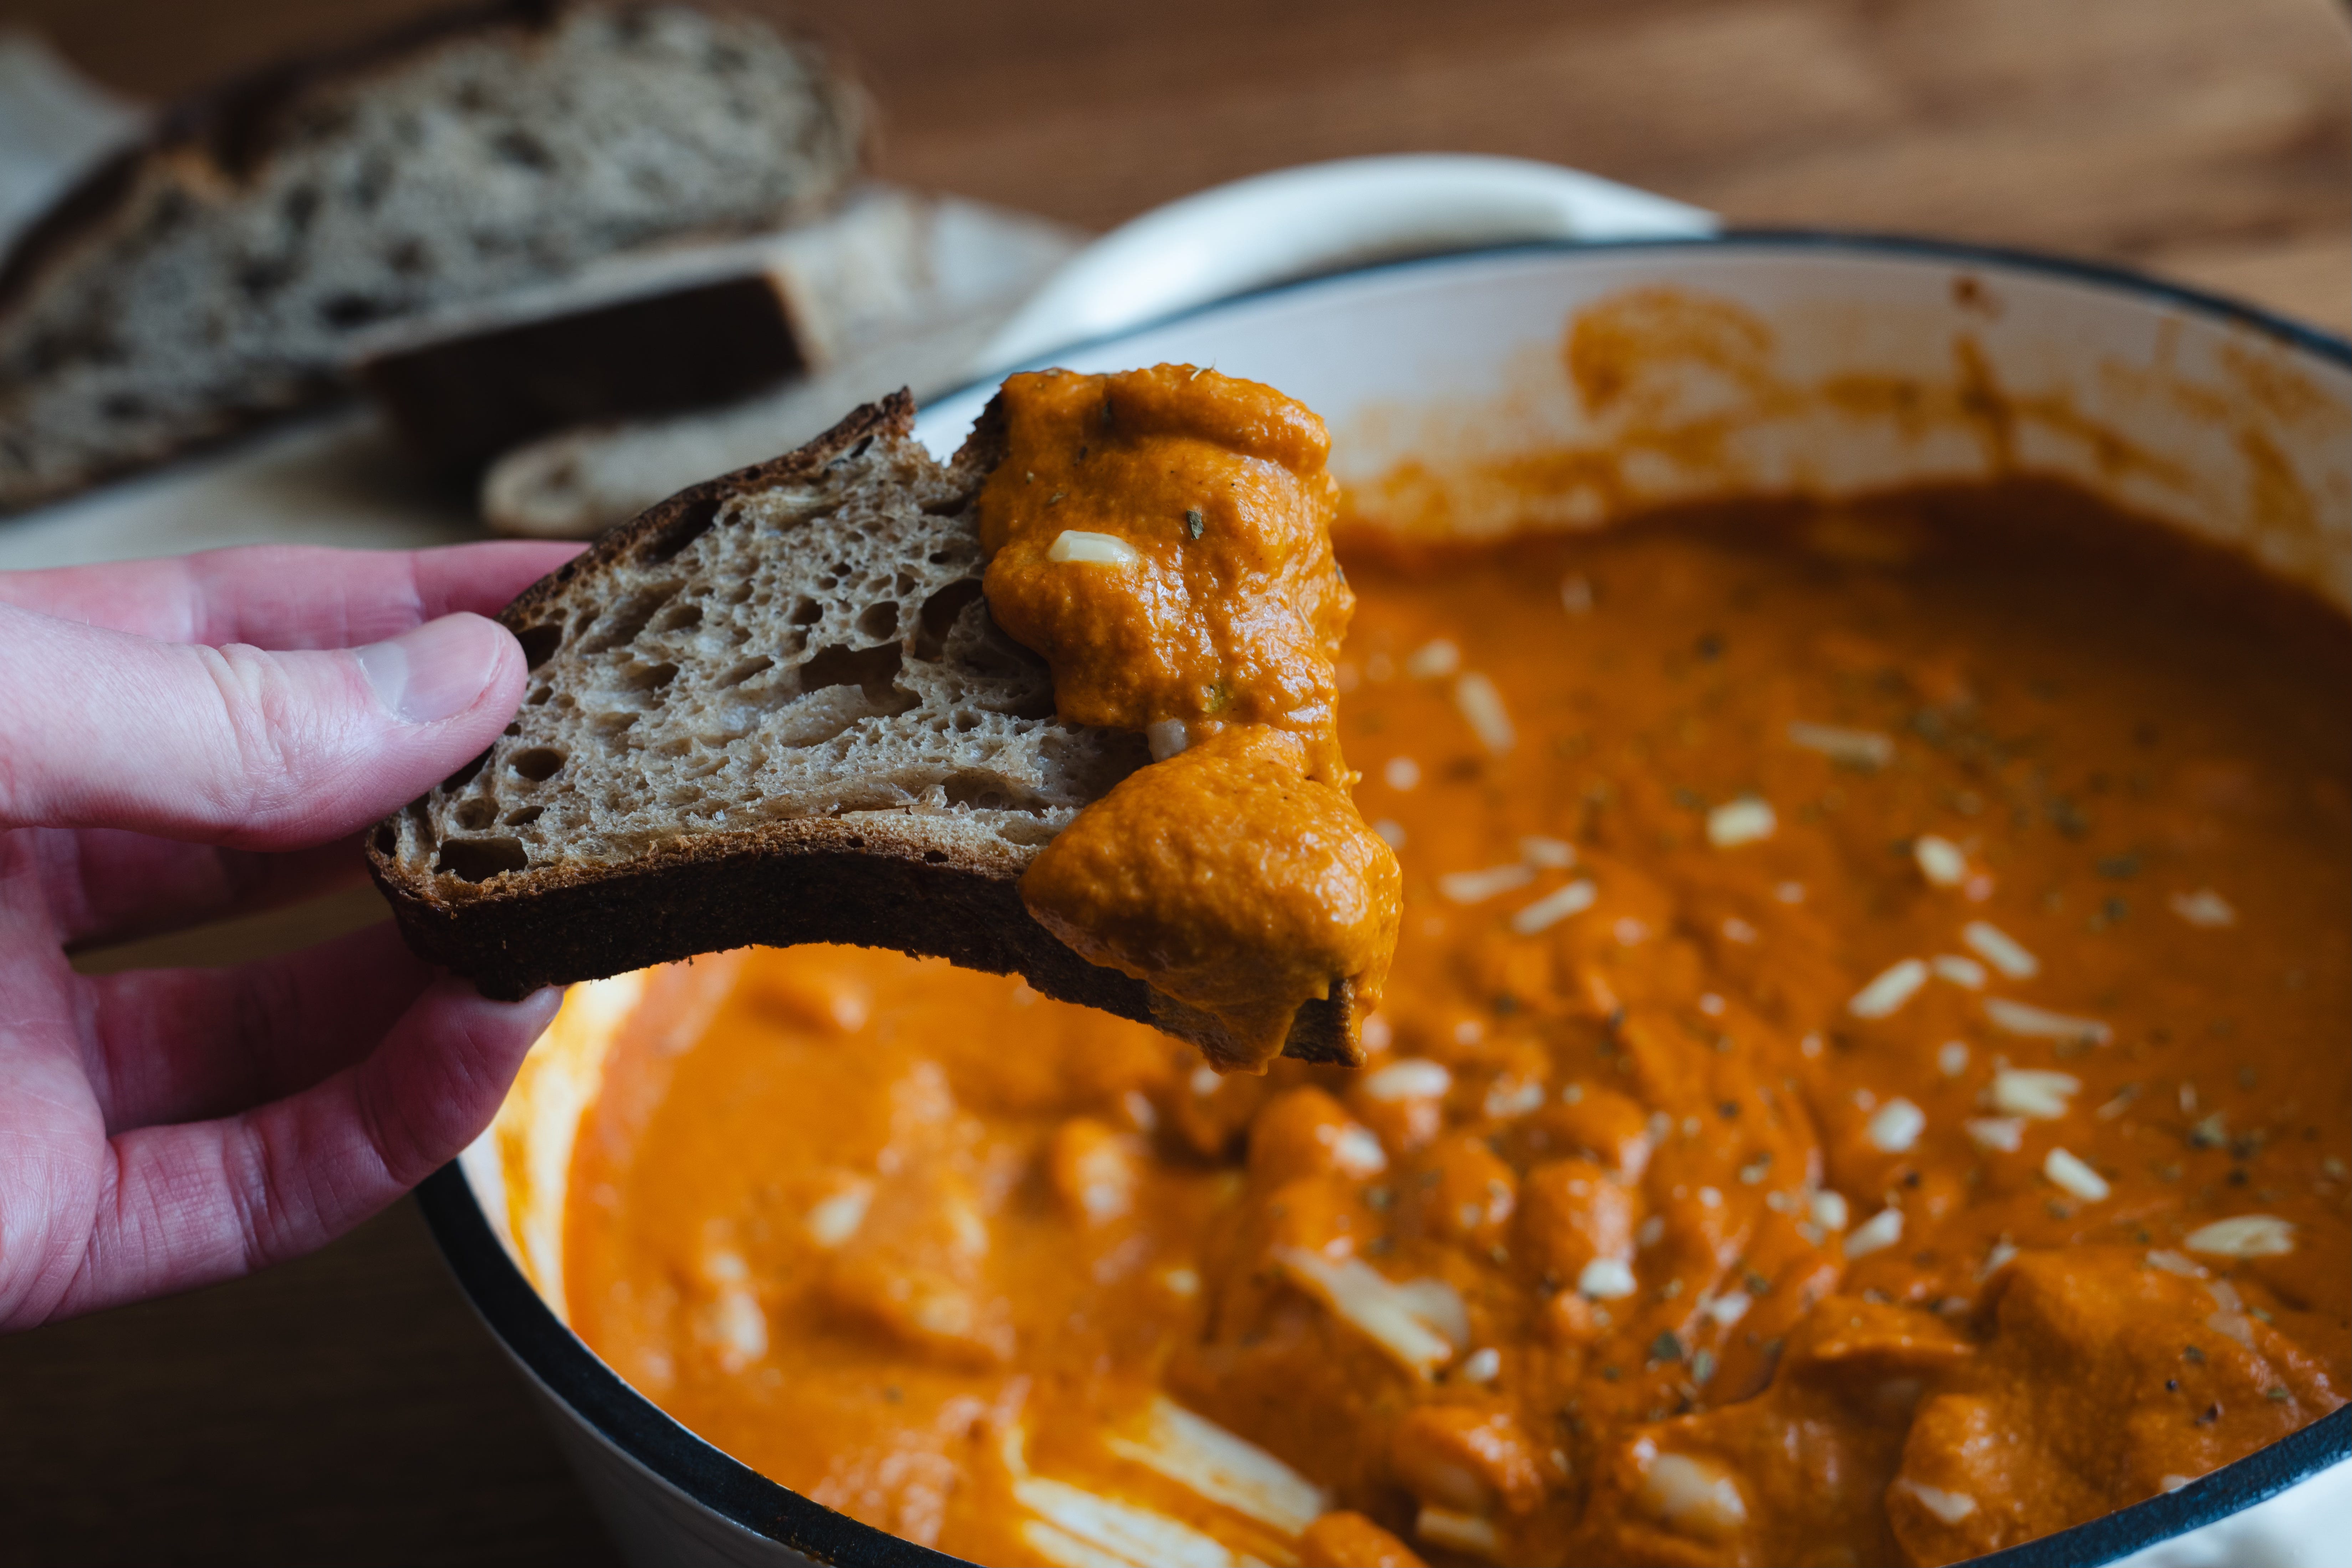
Recipe: Creamy, cheesy sun-dried tomato beans
They say that the simplest recipes can be some of the tastiest (do they, or did I just make that up?). These creamy, cheesy tomato-y beans are some of the tastiest you’ll try and they’re so quick and easy to make!
Basically, whack all of the ingredients into a Nutribullet (minus the cheese and beans), blitz to make the sauce and then add to a pan. Stir in your cheese and then the whole can of beans. Let it simmer for a few minutes and you’re done!
For a quick lunch I just cut a few slices of bread to enjoy it with, but you could add this to pasta or rice for something a bit more substantial. You could also make a mean beans on toast, too!
🧈 Ingredients
1 jar (280g) sun-dried tomatoes (in oil), drained
50g cream cheese
1 garlic clove, peeled
150ml water
50g cheddar, grated
1 can (400g) cannellini beans (including the liquid)
Optional topping: grated cheese, oregano
🥣 Instructions
Add the sun-dried tomatoes, cream cheese, garlic and water to a blender and blend until smooth.
In a medium sized pan over a medium heat, add the sauce and the grated cheddar. Stir until melted.
Add the full can of beans (including the juice) and stir until heated through.
And that’s it! So simple. As summer approaches I’m interested in playing around with ‘beans’ as a main component of recipes - whether that’s hot or cold dishes. If you have any suggestions, please send them my way!
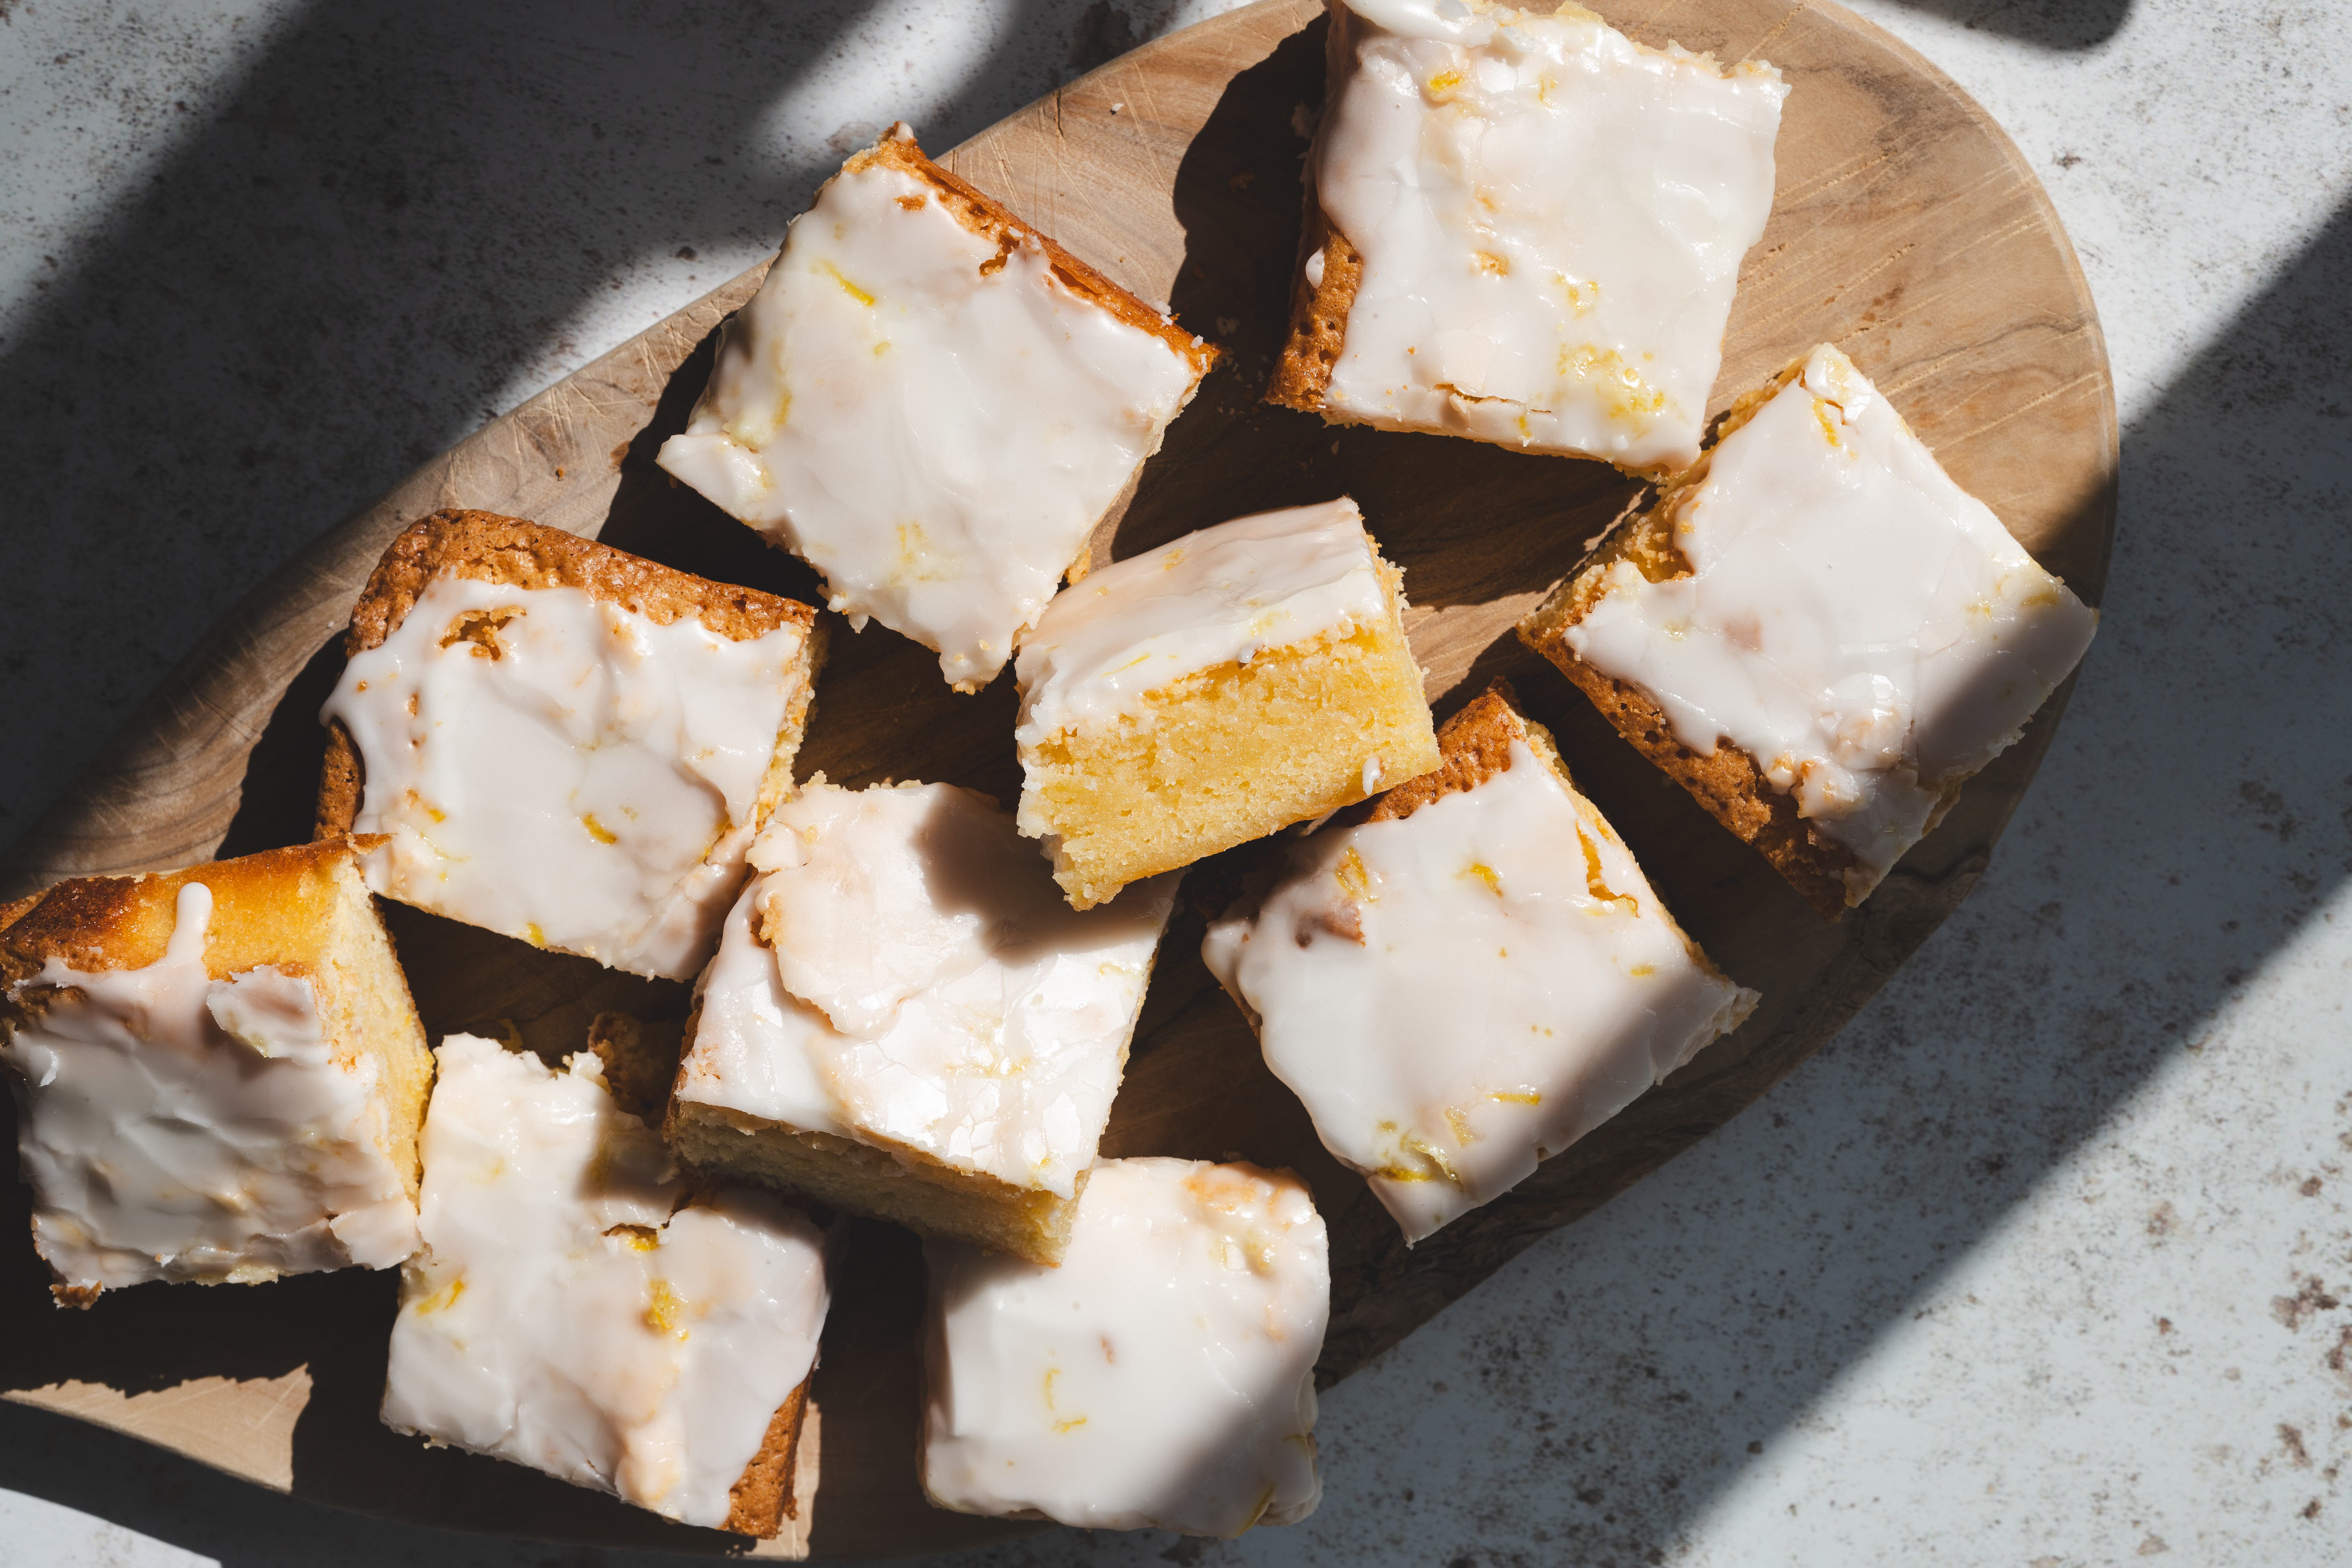
Recipe: Lemon blondies
I had a net-full of lemons rolling around in the fridge that needed using up - so spotting this blondie recipe was the perfect excuse.
These lemon blondies turned out so fudgy and chewy that first of all I thought that I had underbaked them. I left them in the oven for a couple of minutes longer than they should have been, but they still turned out great.
The recipe called for the use of a ‘double boiler’ - and as I had only a slight idea of what that was, I asked Dawn for some help.
🧈 Ingredients
140g unsalted butter
110g high quality white chocolate, chopped (not white chocolate chips)
300g granulated sugar
3 tablespoons lemon zest (from about 3 large lemons)
3 large eggs, plus one egg yolk, room temperature
1 teaspoon vanilla
188g all-purpose flour
1/2 teaspoon salt
100-150g cups powdered sugar, sifted
4 to 5 tablespoons fresh lemon juice
🥣 Instructions
Me: Hey Dawn, how do you create a double boiler?
Dawn: Creating a double boiler is quite simple and incredibly useful for gently cooking or melting ingredients like chocolate or cheese. Here’s how you do it:
Find a Pot and a Heatproof Bowl: You need a pot and a heatproof bowl that fits snugly over the top of the pot. The bowl should be big enough to sit on top of the pot without its bottom touching the water when it’s in the pot.
Fill the Pot with Water: Fill the pot about one-third to halfway with water. Make sure the water level is low enough that it does not touch the bottom of the bowl when it's placed on top.
Bring the Water to a Simmer: Place the pot on the stove and bring the water to a gentle simmer over medium heat. You want steam to be produced without the water boiling vigorously, as the idea is to heat with gentle steam rather than direct contact with boiling water.
Place Your Bowl: Once the water is simmering, place your bowl on top of the pot. The contents of the bowl will be heated by the steam coming from the simmering water below.
Stir Occasionally: As your ingredients begin to melt or cook, stir them occasionally to ensure even heating and to prevent burning or sticking.
Adjust Heat as Needed: If you notice the water boiling too vigorously, lower the heat. The key is to keep it at a gentle simmer to avoid overheating the ingredients in the bowl.
This method is fantastic for tasks that require careful temperature control, such as melting chocolate without burning it or making delicate sauces like hollandaise. Plus, there’s the added bonus of feeling like a bit of a wizard in the kitchen, gently coaxing your ingredients to perfection!
Preheat oven to 160 fan. Line an 8 x 8 inch baking pan with parchment paper. Allow the paper to hang over the sides of the pan for easy removal of the brownies once baked. Set aside.
Melt the butter and chopped white chocolate in a double boiler over medium-low heat. Stir often to prevent the white chocolate from seizing while melting. Once melted, remove the bowl from the heat and set aside to cool for 15 to 20 minutes.
In a large bowl, add the granulated sugar and lemon zest. Use your hands to massage the zest into the sugar. This helps to release the oils from the lemon zest into the sugar, amping up the lemon flavor once the brownies are baked.
Add the eggs and egg yolk. Use a whisk to combine well.
Add the cooled butter and chocolate mixture and the vanilla. Whisk until well combined.
Add the flour and salt. Use a large spatula or wooden spoon to fold the wet and dry ingredients together. Stop when a few streaks of flour remain. Do not over mix.
Transfer the batter to the prepared pan and use a spatula to gently smooth the top.
Bake for approximately 25 minutes or until the edges are golden brown and the top is just barely set in the center. Do not over bake or the brownies will be dry.
Remove the pan from the oven and set on a wire rack. Cool the brownies completely before adding the lemon glaze.
For the glaze
Combine the powdered sugar and lemon juice (or milk) in a small bowl. Whisk until smooth but pourable. If the glaze is too thin, add more powdered sugar. If too thick, add more liquid.
Pour over the top of the cooled brownies and use an offset spatula to spread evenly.
Top with additional lemon zest, if desired.
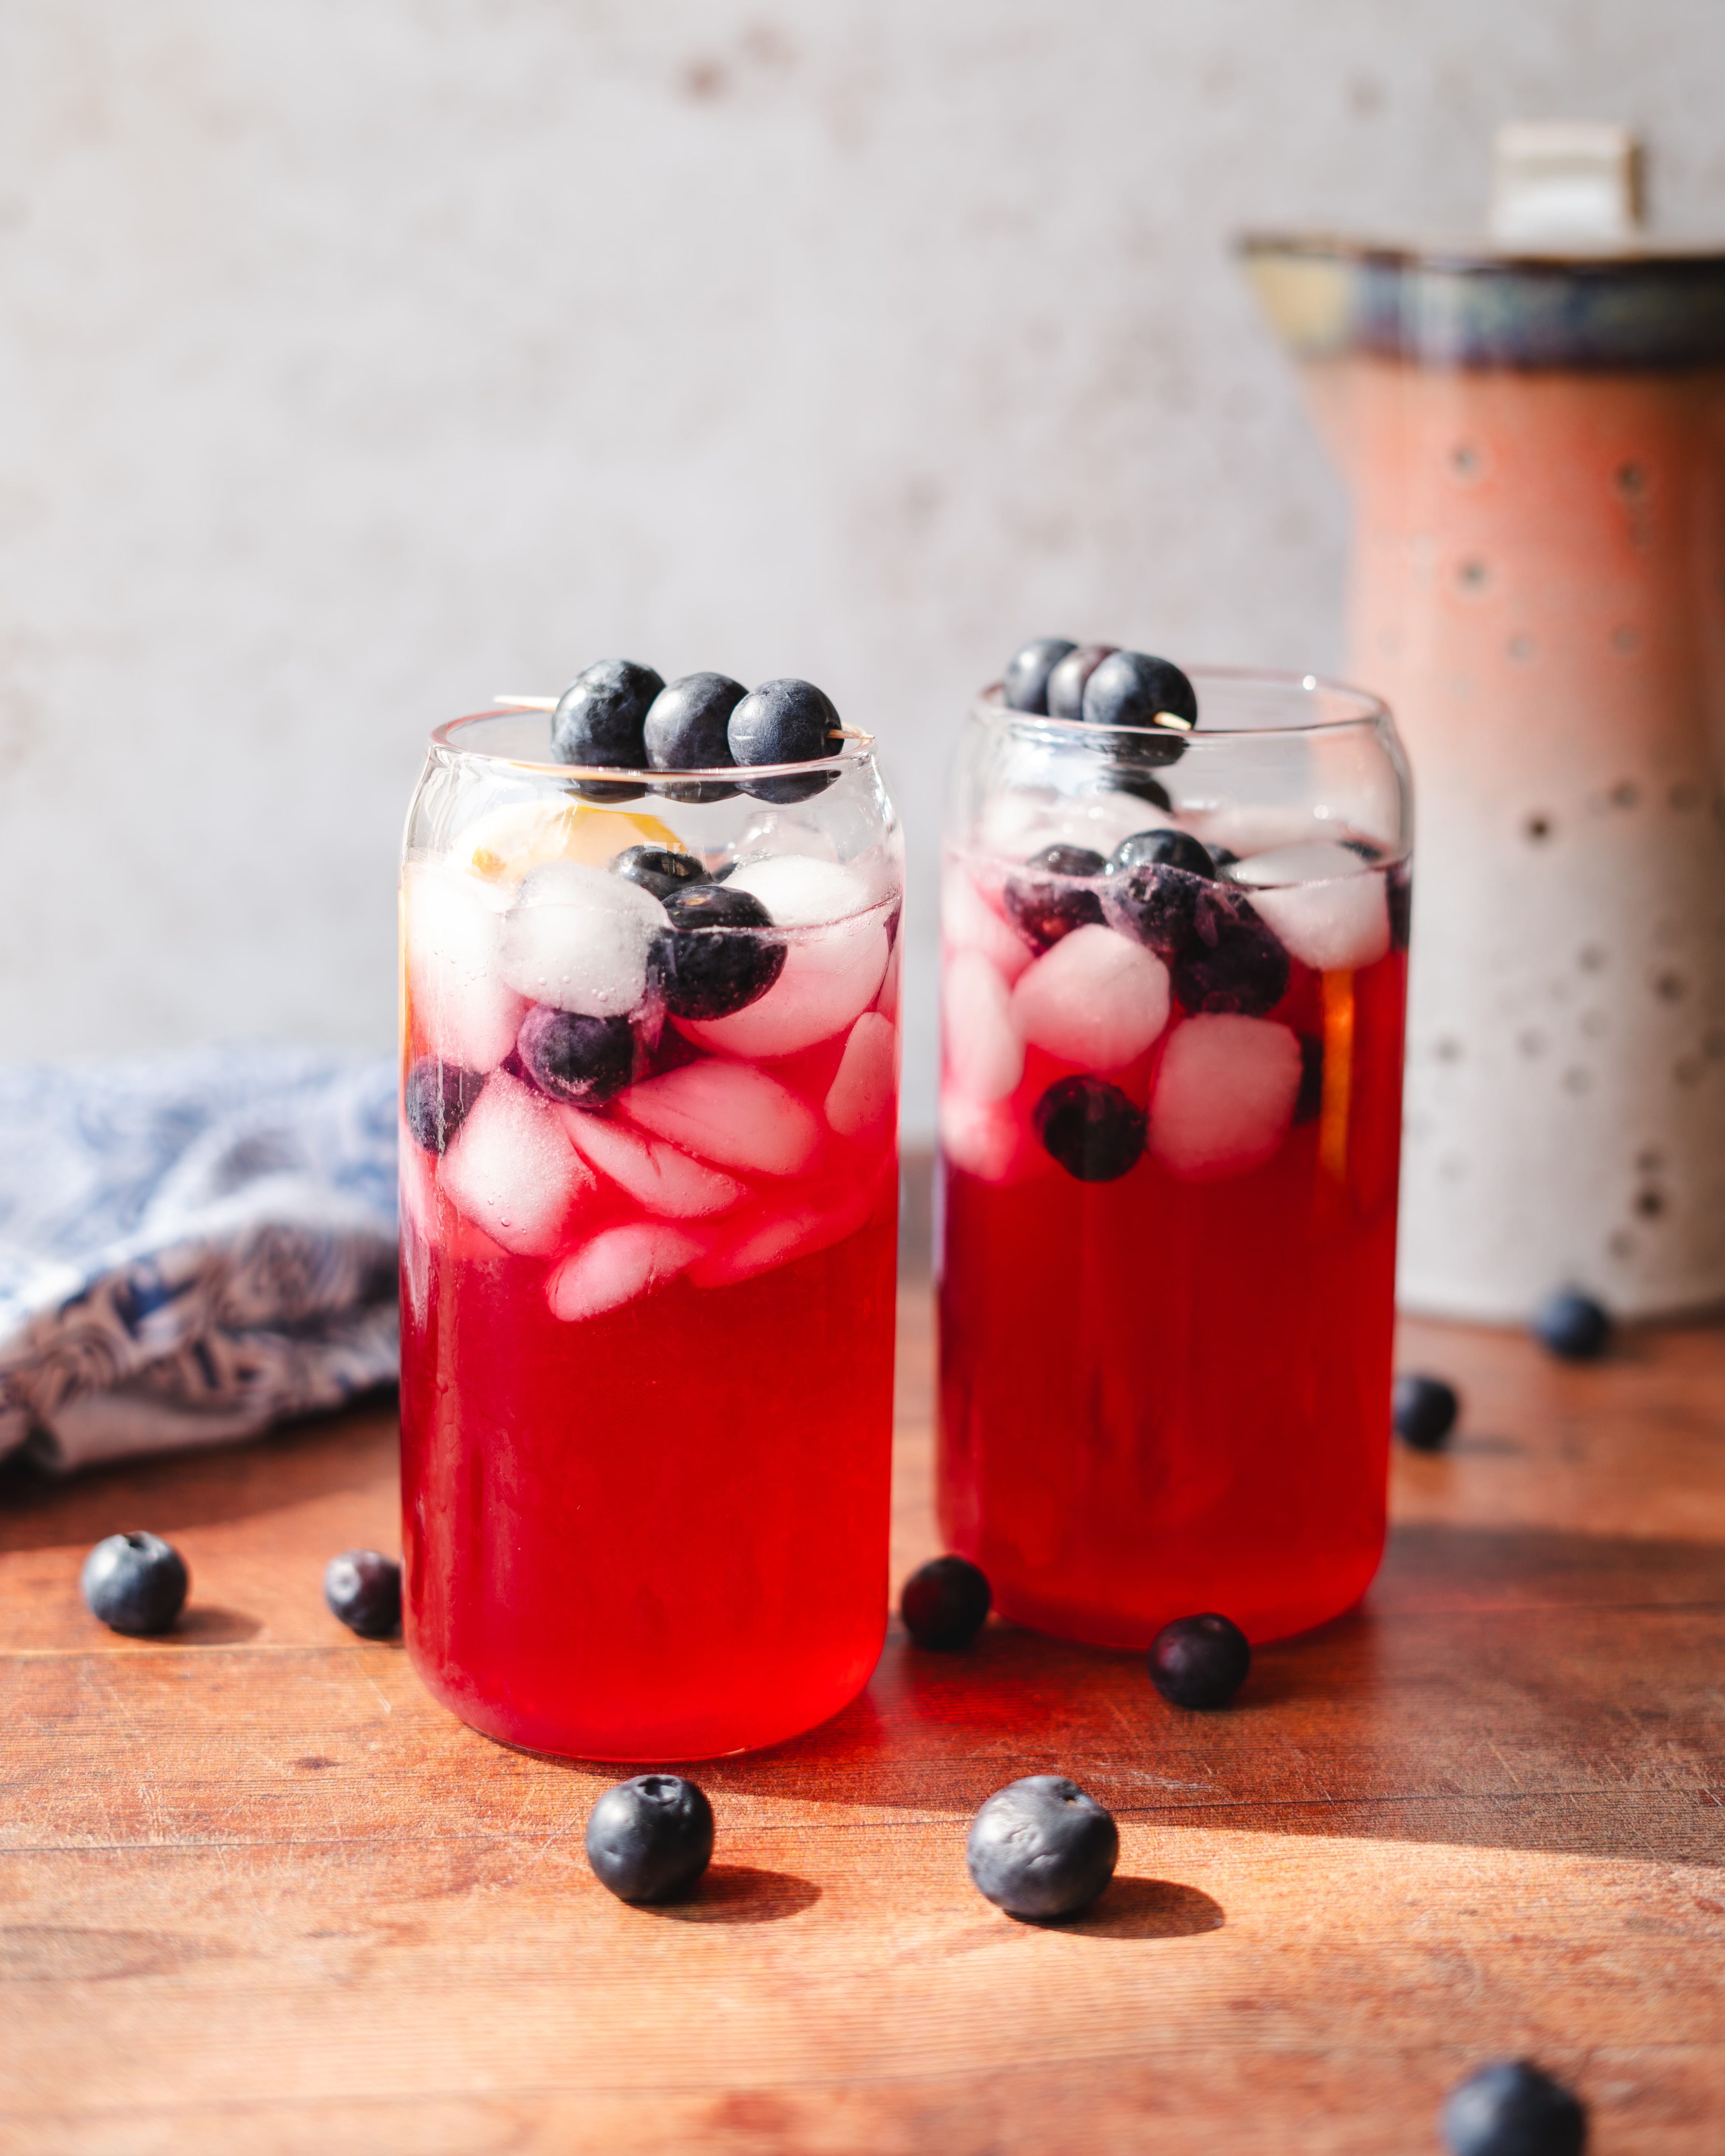
Recipe: Blueberry lemonade (no fizz)
Hot, sunny days call for something refreshing - and this delicious blueberry lemonade with a homemade blueberry lemon syrup definitely hit the spot! Continuing my blueberry obsession, this thirst-quenching, beautiful drink is one I’ll be making all throughout Summer.
(And you could easily use this as a mixer for something a little stronger, too!)
🧈 Ingredients
For the blueberry lemon syrup
½ cup fresh blueberries
¼ cup sugar
1 cup water
2 tablespoon lemon juice
For the lemonade
½ cup lemon juice
¾ cup sugar
6 cups cold water
🥣 Instructions
To make the blueberry lemon syrup
Add all the ingredients except the lemon juice to a saucepan, and let it boil. Mash the blueberries using the back of a spoon or a masher.
Add the lemon juice and let the mixture simmer for 5 minutes until it thickens slightly. Turn off the heat.
Strain the syrup using a sieve, discard the solids, and keep the syrup aside.
To make the lemonade (no fizz)
In a pitcher, add the lemonade ingredients and mix well. Add the blueberry syrup and mix well. Cover and refrigerate for two hours before serving.
Add ice to your glass and fill it with this refreshing drink when serving.
This blueberry lemonade should be diluted; so it's best to serve it in a glass full of ice or use as a mixer
And there we have it! Another great drink to get you through those hot summer days.
Last week I mentioned about buying some new cookbooks. A couple are still to arrive, but I’m planning a 'cookbook edition’ of Taisty Bytes next week. I’d love any recommendations you might have - so please feel free to share in the comments.
As always, thank you visiting my little slice of the internet.
Until next time,
-Mark
I loved reading this post! Looks like you've made some delicious treats this month. I would love a slice of that blueberry yogurt cake. I feel like I can be more creative on Substack and it seems like you feel the same. Congratulations on 1 month!
Congratulations Mark - I love how your Substack is just so original, and fun!